MAIN OPPORTUNITIES
"Private Content" Usage Instructions
We are excited to introduce you to our new feature, the "Private Content" section, which adds even more functionality to our service. Now you can create and share content that will be accessible only to your selected audience. This is an ideal solution for those who want to provide unique materials while maintaining control over their distribution.
Step 1: Registration / Account Login
1.1 Visit the hipolink.net website and register if you don't have an account yet. Log in to your account using your username and password at https://hipolink.net/en/signin.
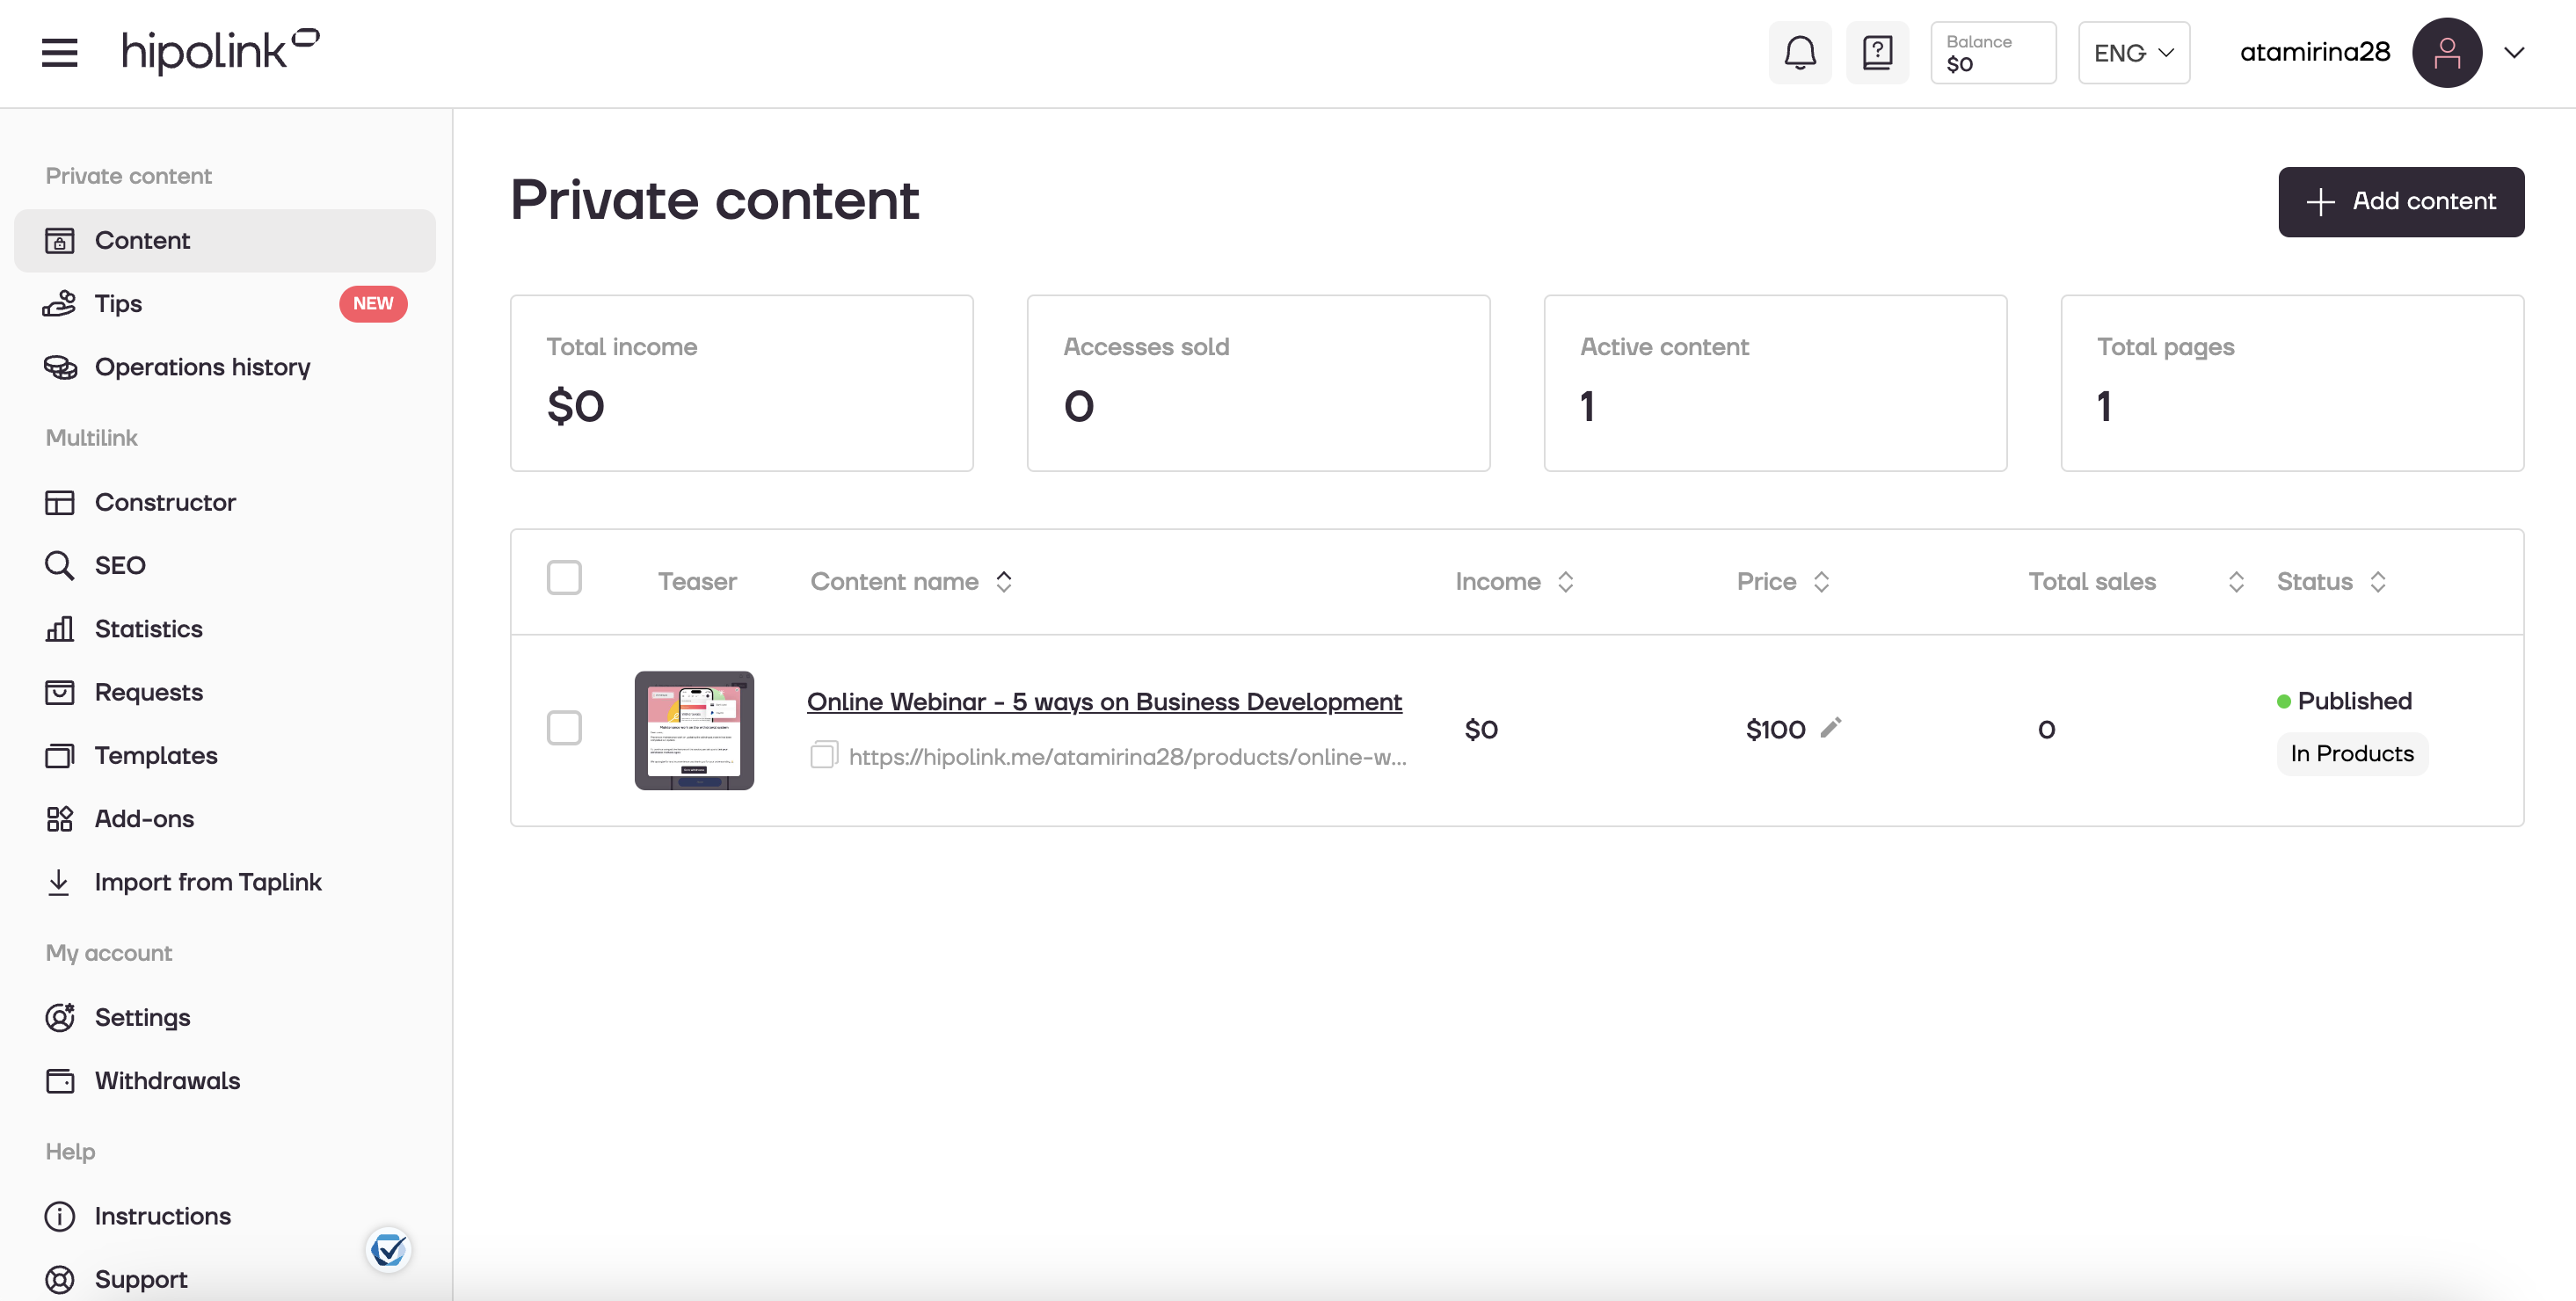
1.2 In the left menu, select the Content section.
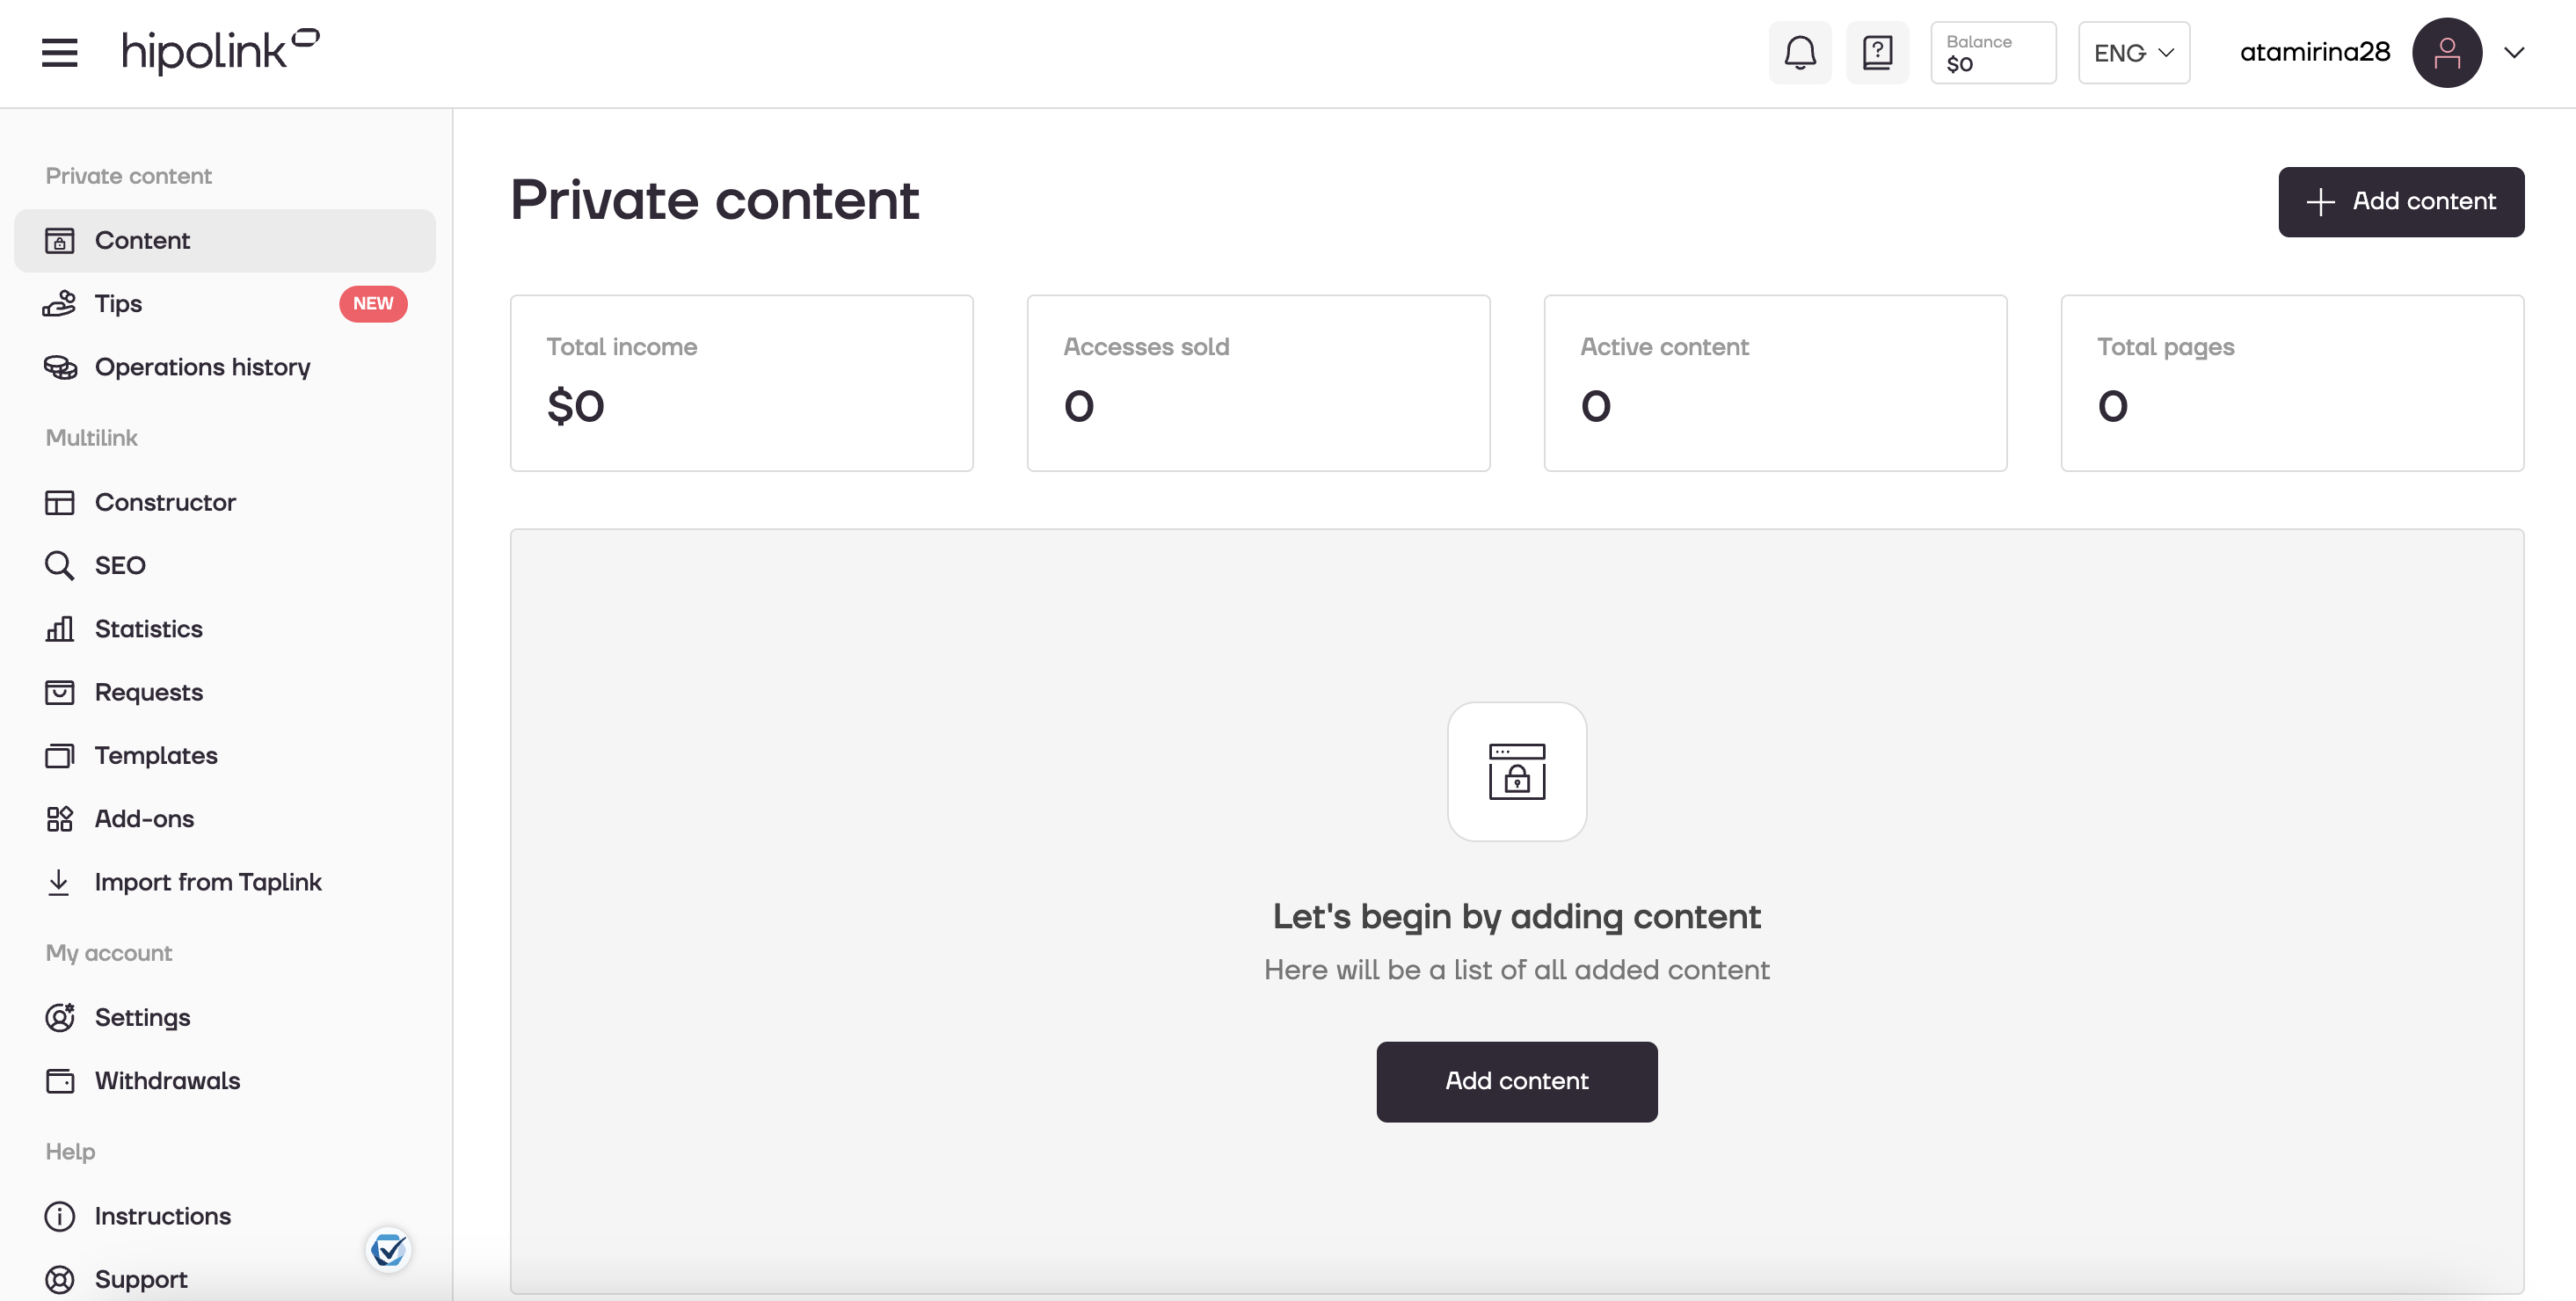
Step 2: Creating a Card for Private Content.
2.1 Click on the "Add Content" button.
2.2 Fill in the required fields in the Preview tab.
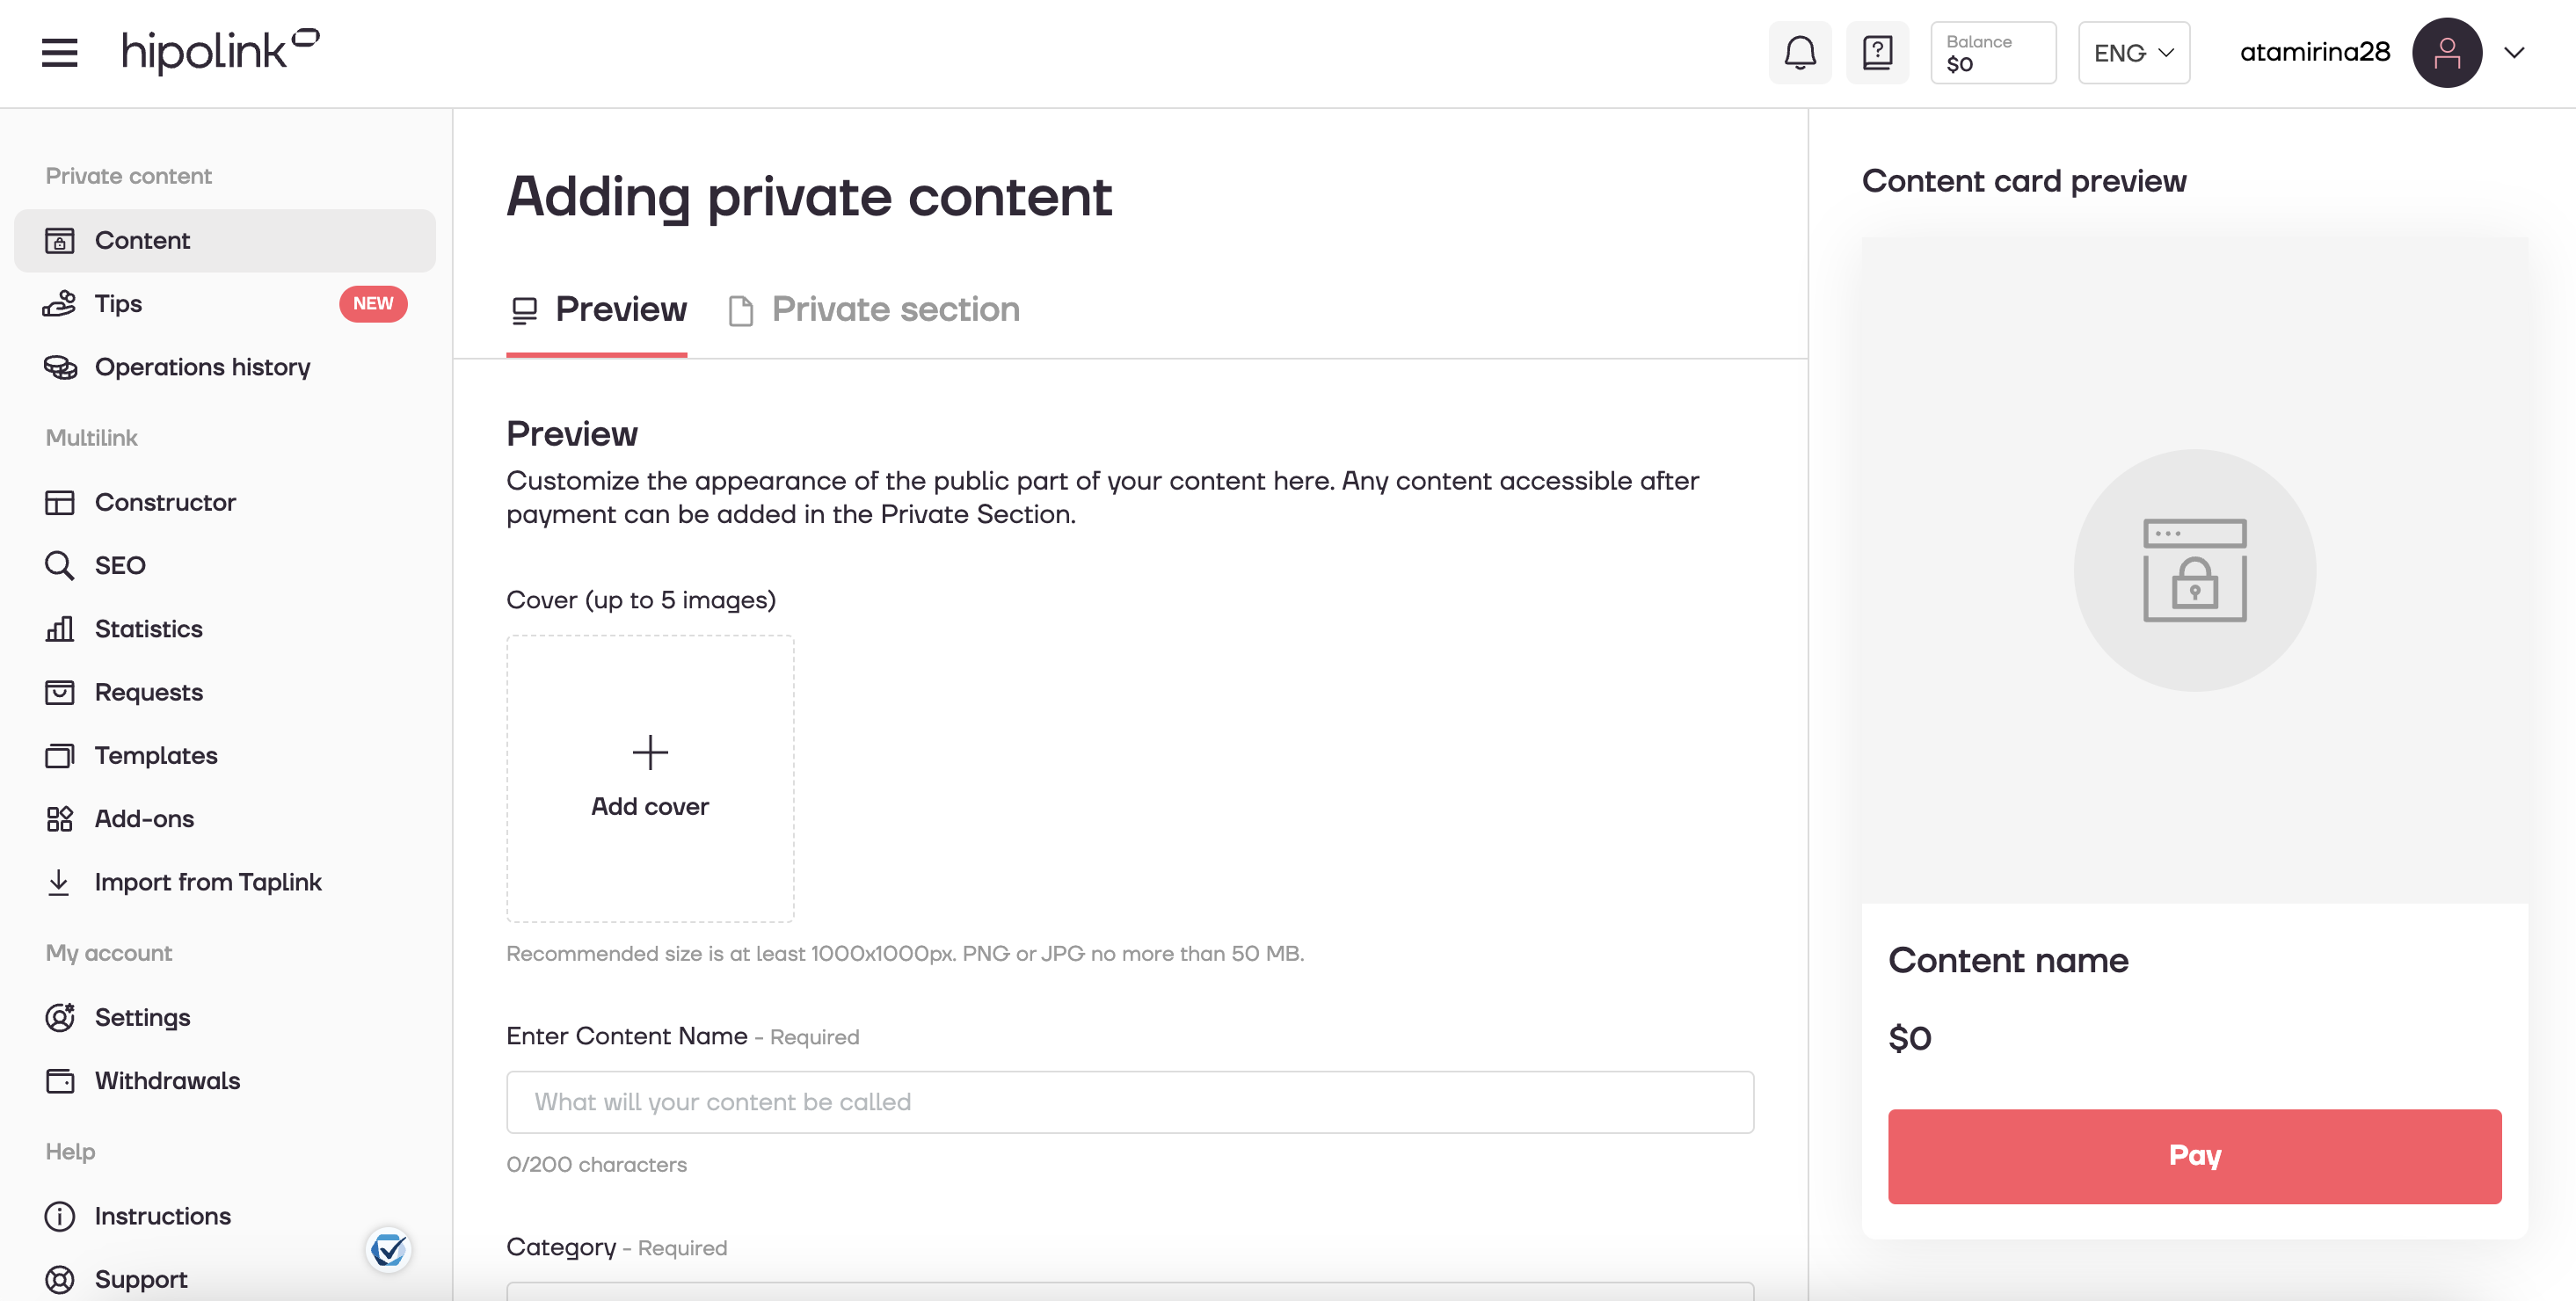
2.3 Pay attention to the additional features in the Preview section.
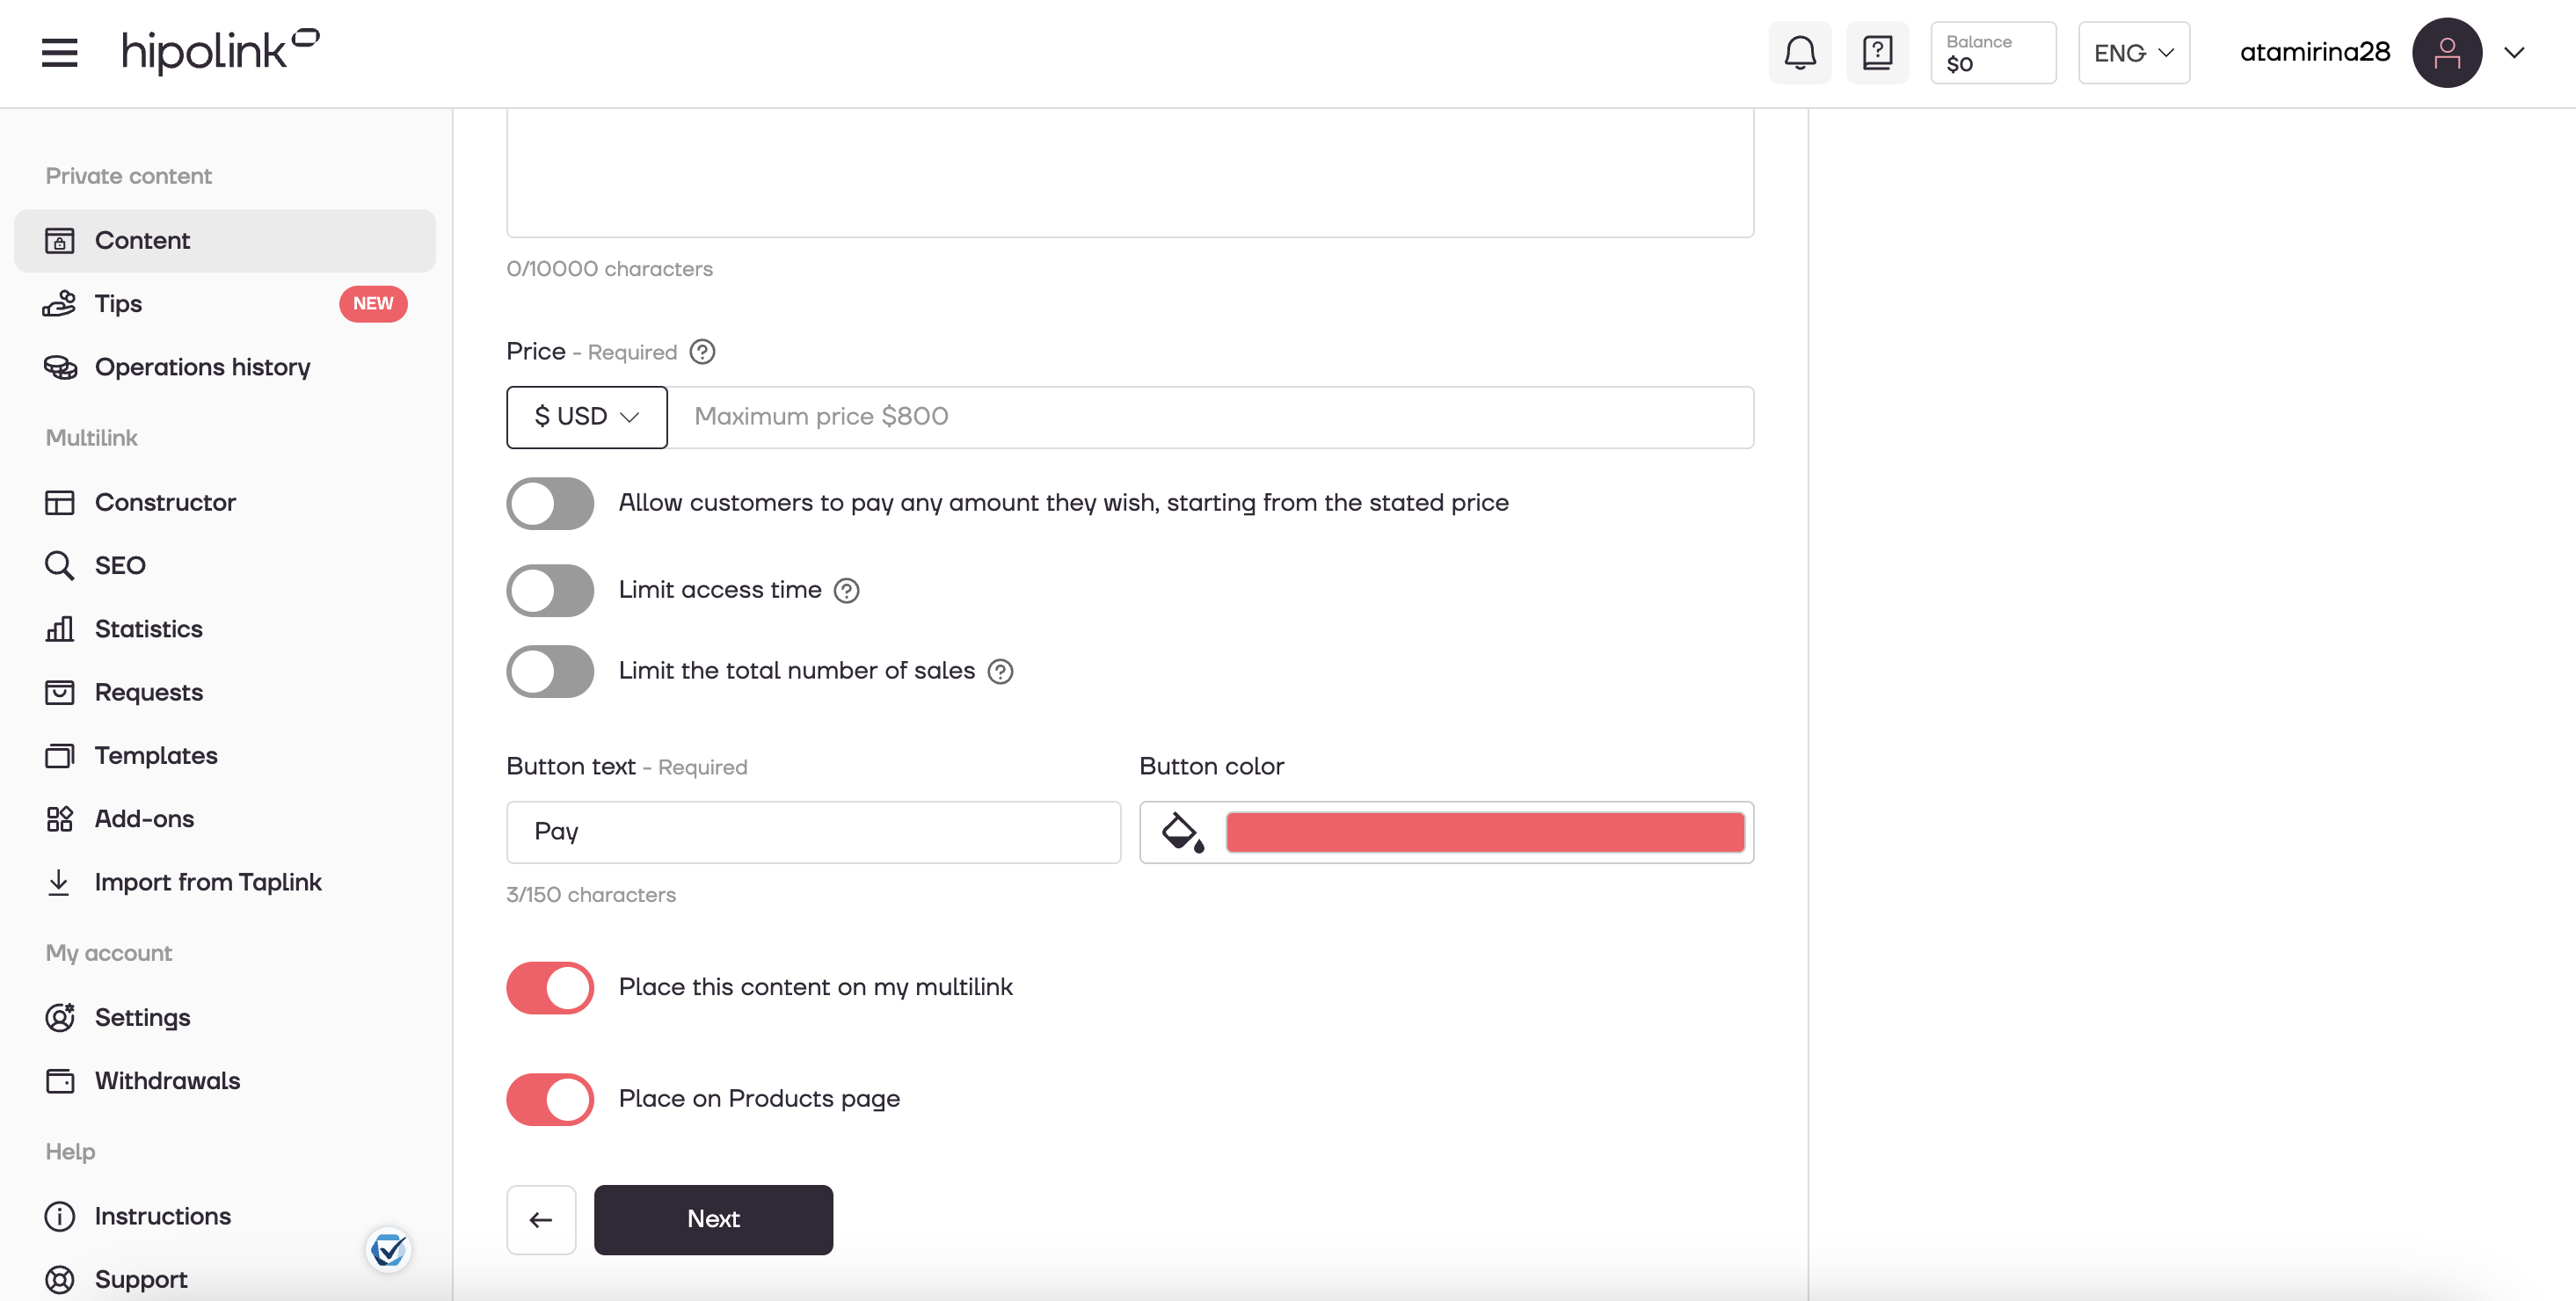
- Allow customers to pay any amount they wish, starting from the stated price.
- Limit access time (the time after which access to the purchased content will be disabled)
- Limit the total number of sales (the total number of access sales at the end of which, the ability to purchase access will be closed)
As well as the option of placing your private content on your Multilink and the Products page:
- Place this content on my multilink
- Place on Products page - the content card will be placed on Products page (the section at the top of your multilink where your products are collected in one place with the ability to search by content name, filter by tags and sort by price and publication date). The switch to go to the Products page is located at the top of the published multilink. The Products page tab has its own url - you can share the link.
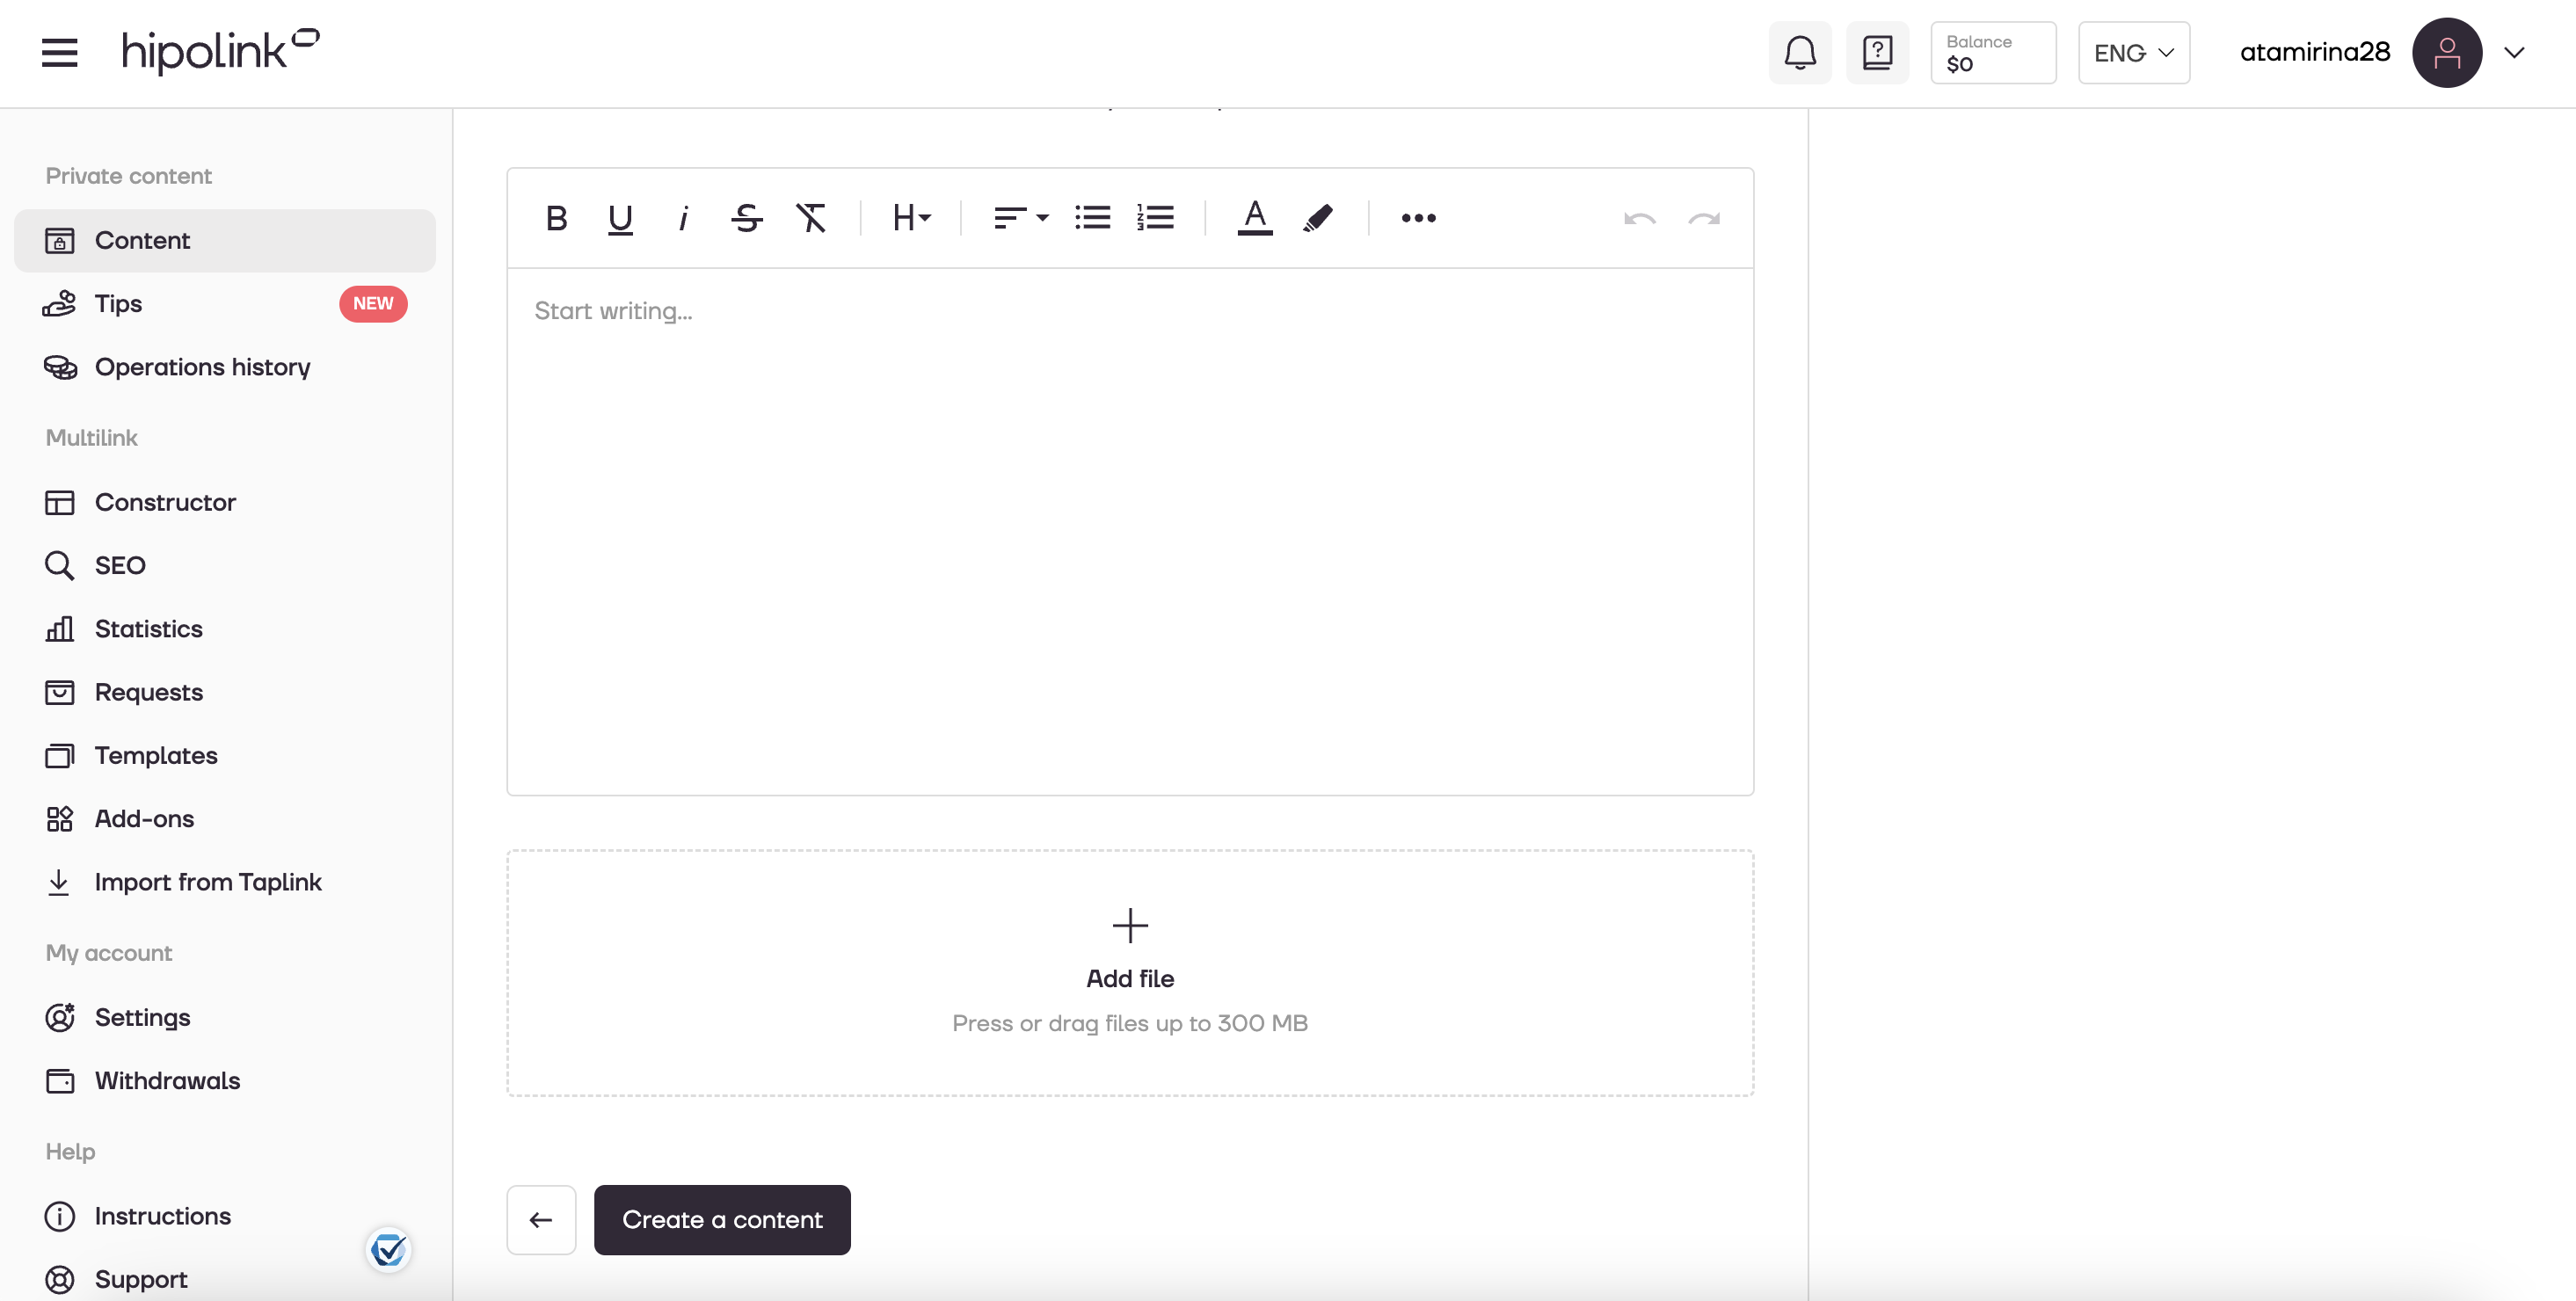
2.4 Uploading a File/Text to the Private part: Select the file to which you want to provide restricted access, or add content using the text editor.
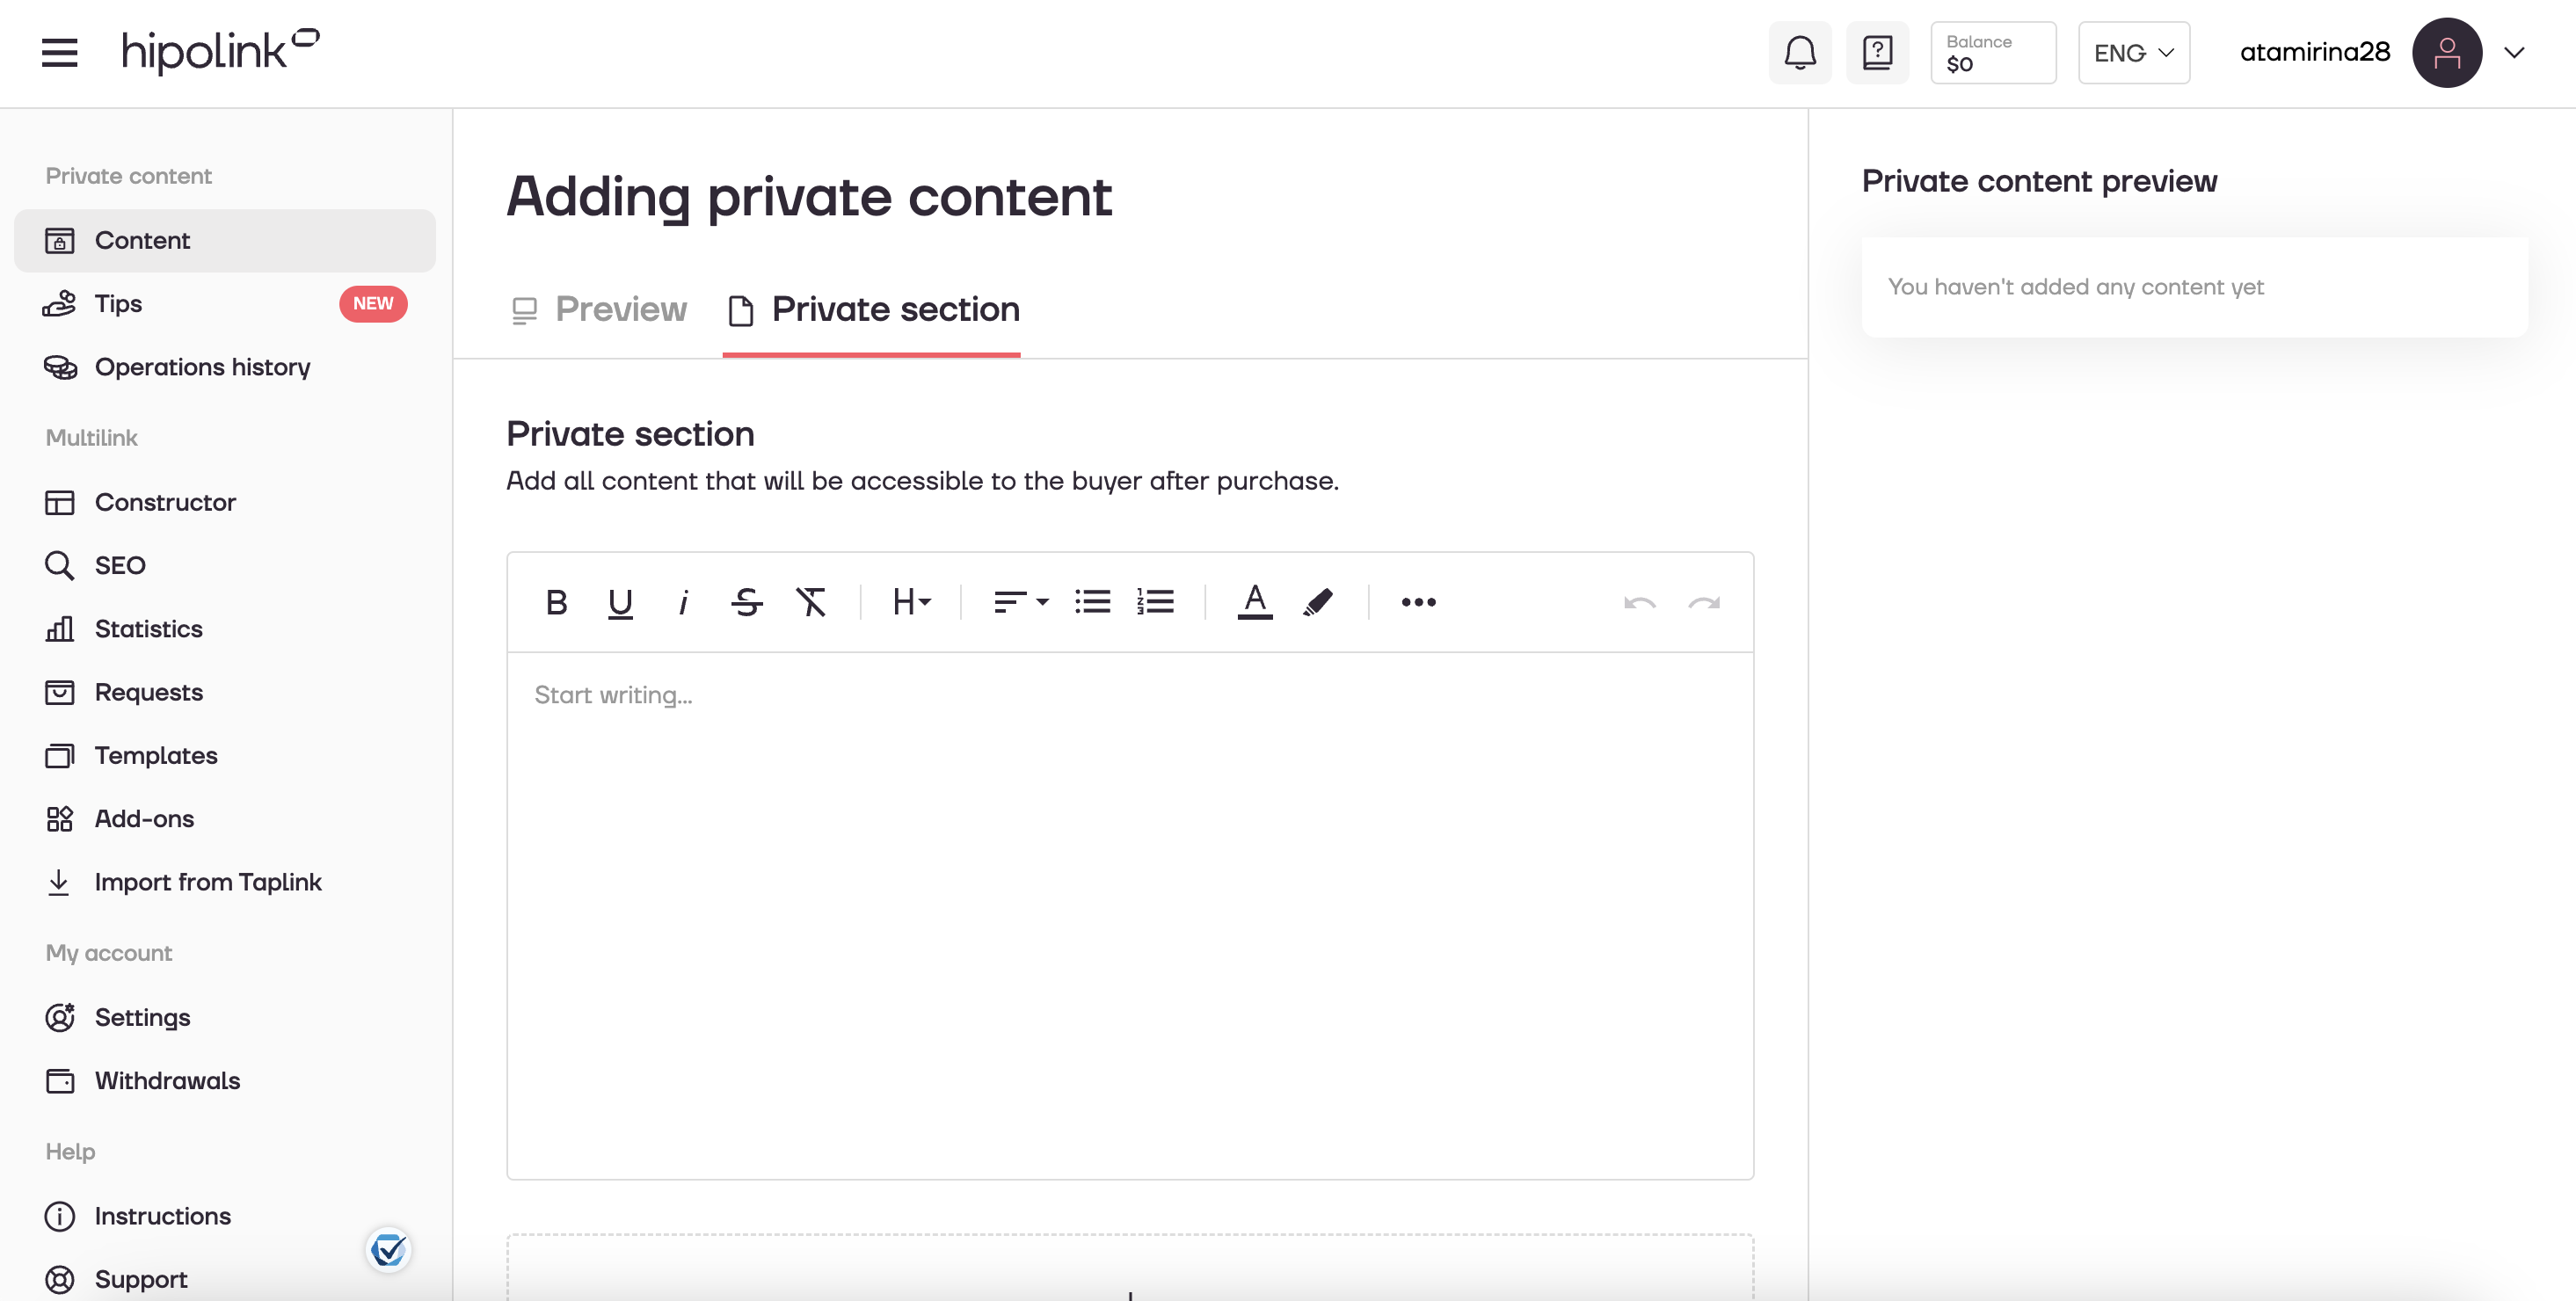
2.5 Click the "Create content" button to complete the card creation.
2.6 Copy the link to send to the client.
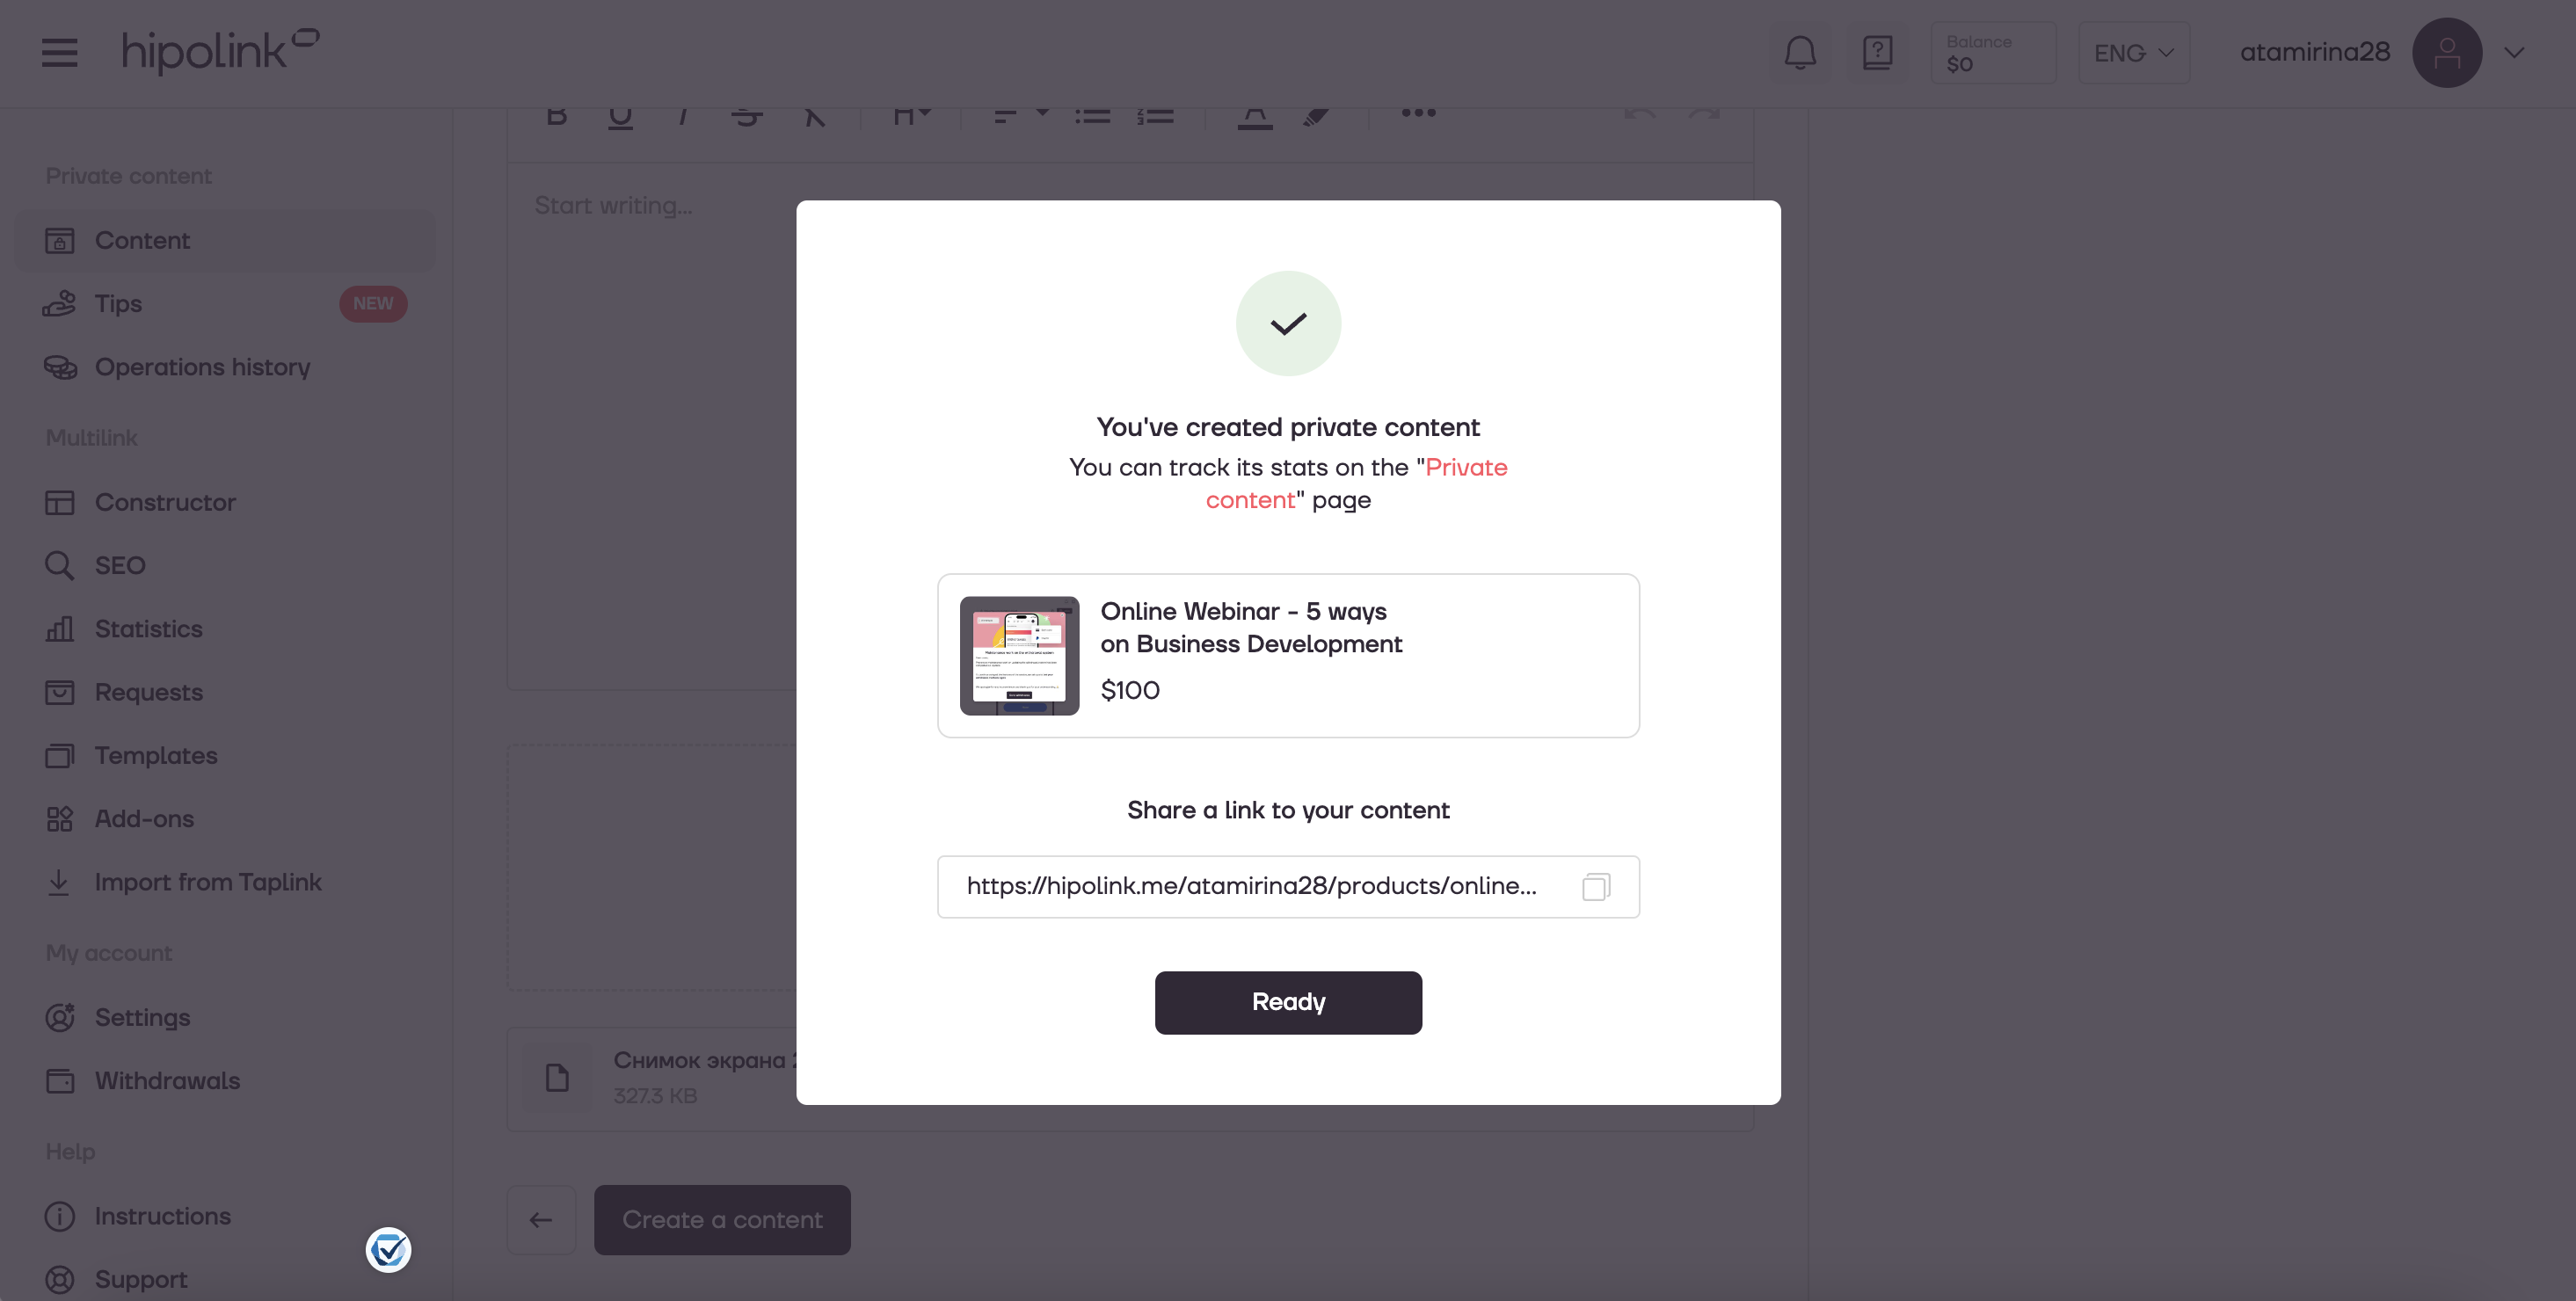
2.7 Click the "Ready" button to return to the main menu of the Private Content section.
Congratulations, your private content is ready for your clients!
MAIN OPPORTUNITIES
Private contentLinks for anti-fraud checkTipsRegistrationSubscription to creator updatesWithdrawalsEdit textPromo CodesEdit themesEdit avatarEdit backgroundEdit linksDropdown BlockEdit online-servicesEdit animated textIcons on buttonsEdit separatorEdit messengersEdit social networksEdit videoEdit photoEdit applications formEdit widgetsHTML block"Private Content" Usage Instructions
We are excited to introduce you to our new feature, the "Private Content" section, which adds even more functionality to our service. Now you can create and share content that will be accessible only to your selected audience. This is an ideal solution for those who want to provide unique materials while maintaining control over their distribution.
Step 1: Registration / Account Login
1.1 Visit the hipolink.net website and register if you don't have an account yet. Log in to your account using your username and password at https://hipolink.net/en/signin.
1.2 In the left menu, select the Content section.
Step 2: Creating a Card for Private Content.
2.1 Click on the "Add Content" button.
2.2 Fill in the required fields in the Preview tab.
2.3 Pay attention to the additional features in the Preview section.
- Allow customers to pay any amount they wish, starting from the stated price.
- Limit access time (the time after which access to the purchased content will be disabled)
- Limit the total number of sales (the total number of access sales at the end of which, the ability to purchase access will be closed)
As well as the option of placing your private content on your Multilink and the Products page:
- Place this content on my multilink
- Place on Products page - the content card will be placed on Products page (the section at the top of your multilink where your products are collected in one place with the ability to search by content name, filter by tags and sort by price and publication date). The switch to go to the Products page is located at the top of the published multilink. The Products page tab has its own url - you can share the link.
2.4 Uploading a File/Text to the Private part: Select the file to which you want to provide restricted access, or add content using the text editor.
2.5 Click the "Create content" button to complete the card creation.
2.6 Copy the link to send to the client.
2.7 Click the "Ready" button to return to the main menu of the Private Content section.
Congratulations, your private content is ready for your clients!