MAIN OPPORTUNITIES
ADDITIONAL OPPORTUNITIES
Google Tag Manager
Google Tag Manager is a service from Google that allows you to add a single GTM code to a page and manage content on the GTM side. This allows you not to change the code every time on all pages if you need to change the code. In GTM, you can add both your own code and the code of analytics services, such as Google Analytics.
Important: If you connect Google Tag Manager and activate the Google Analytics counter inside it, you cannot additionally connect the counter in the site settings - the data will be duplicated.
You need to go to the Google Tag Manager website and register or log in.
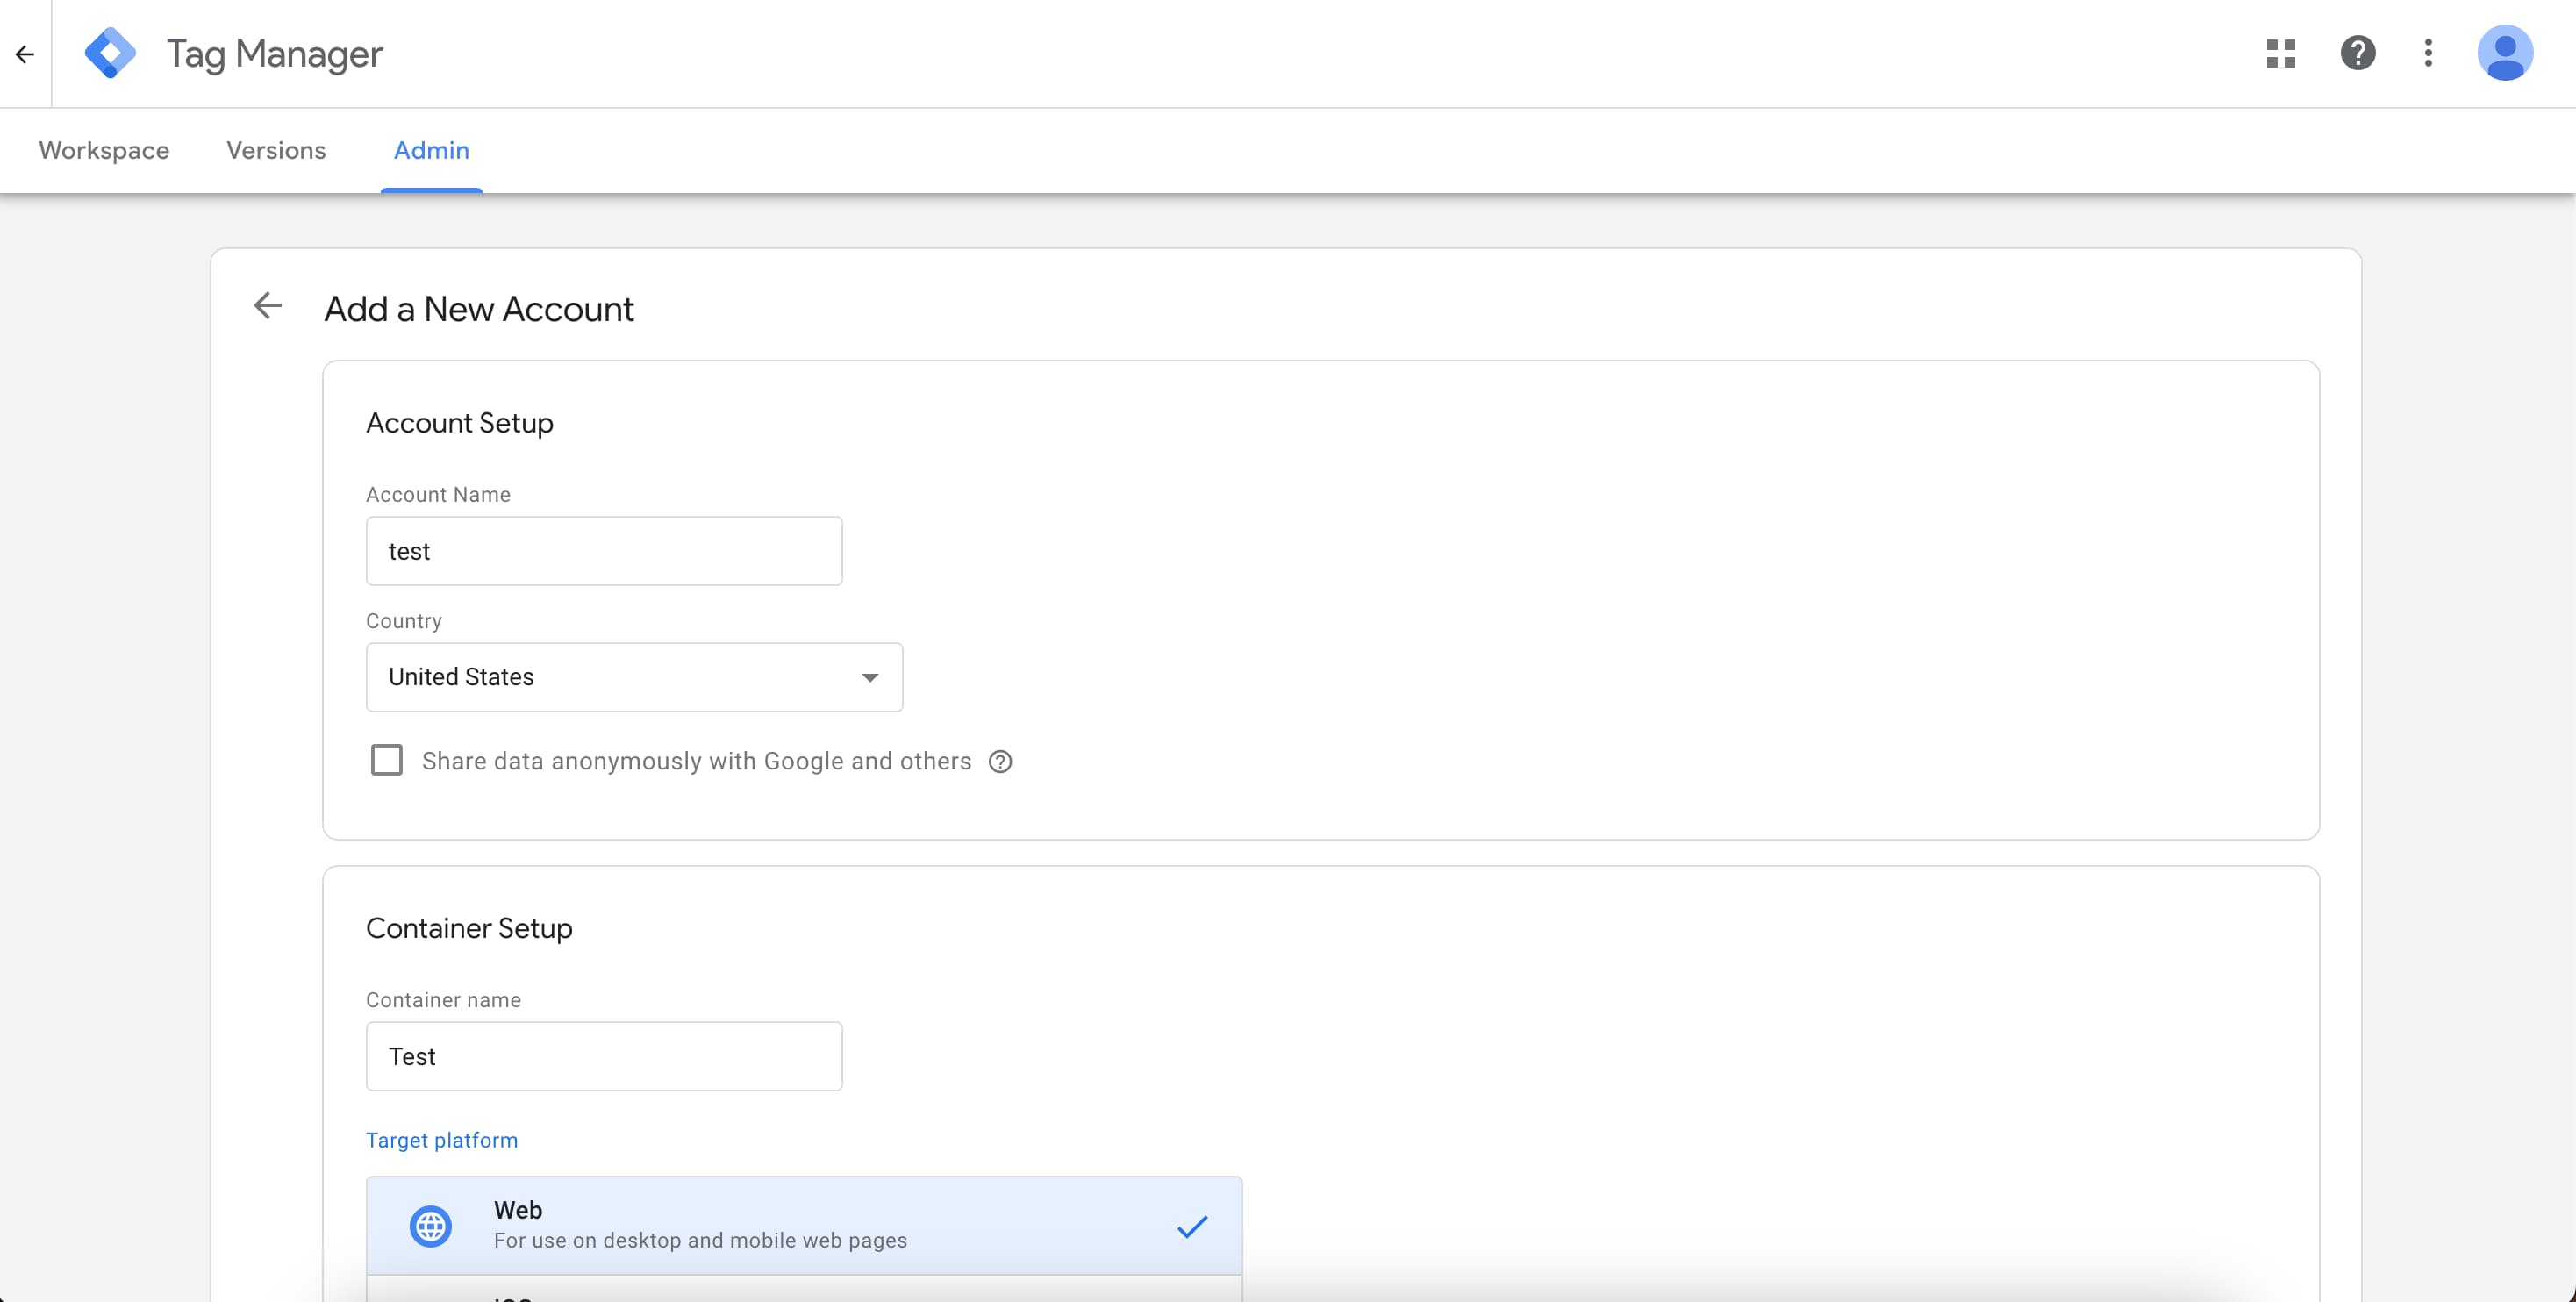
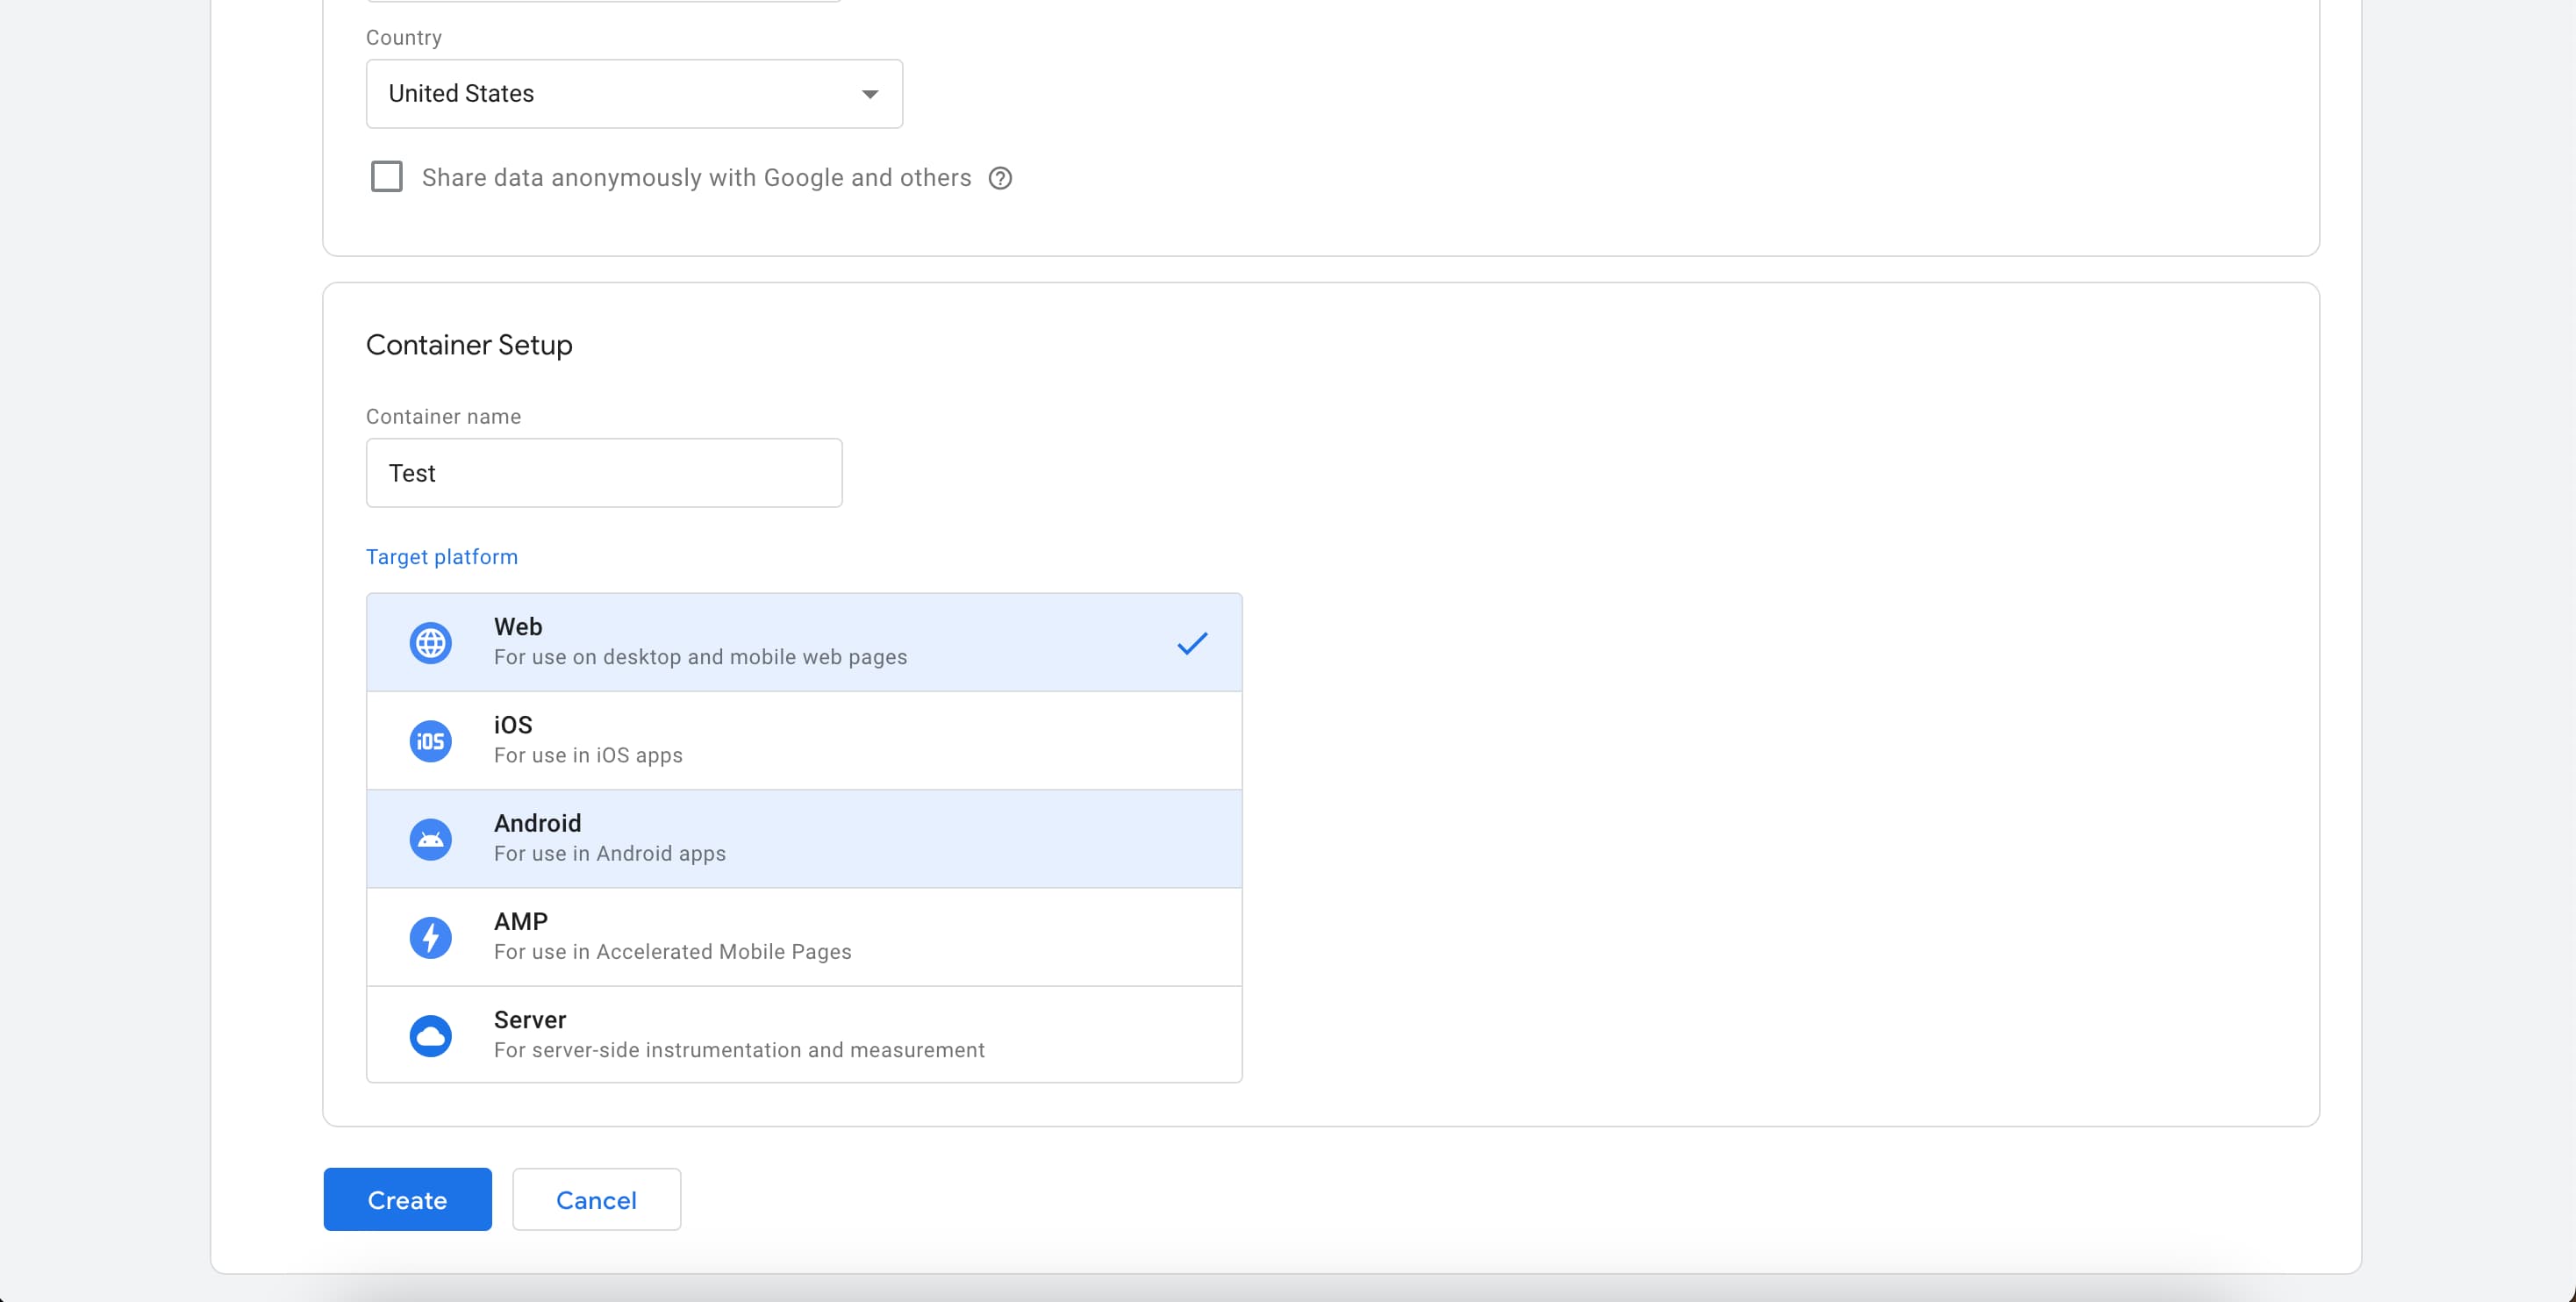
Then press the button "Create an account". Enter the name of the account , select Country, enter Container name and choose Web platform.
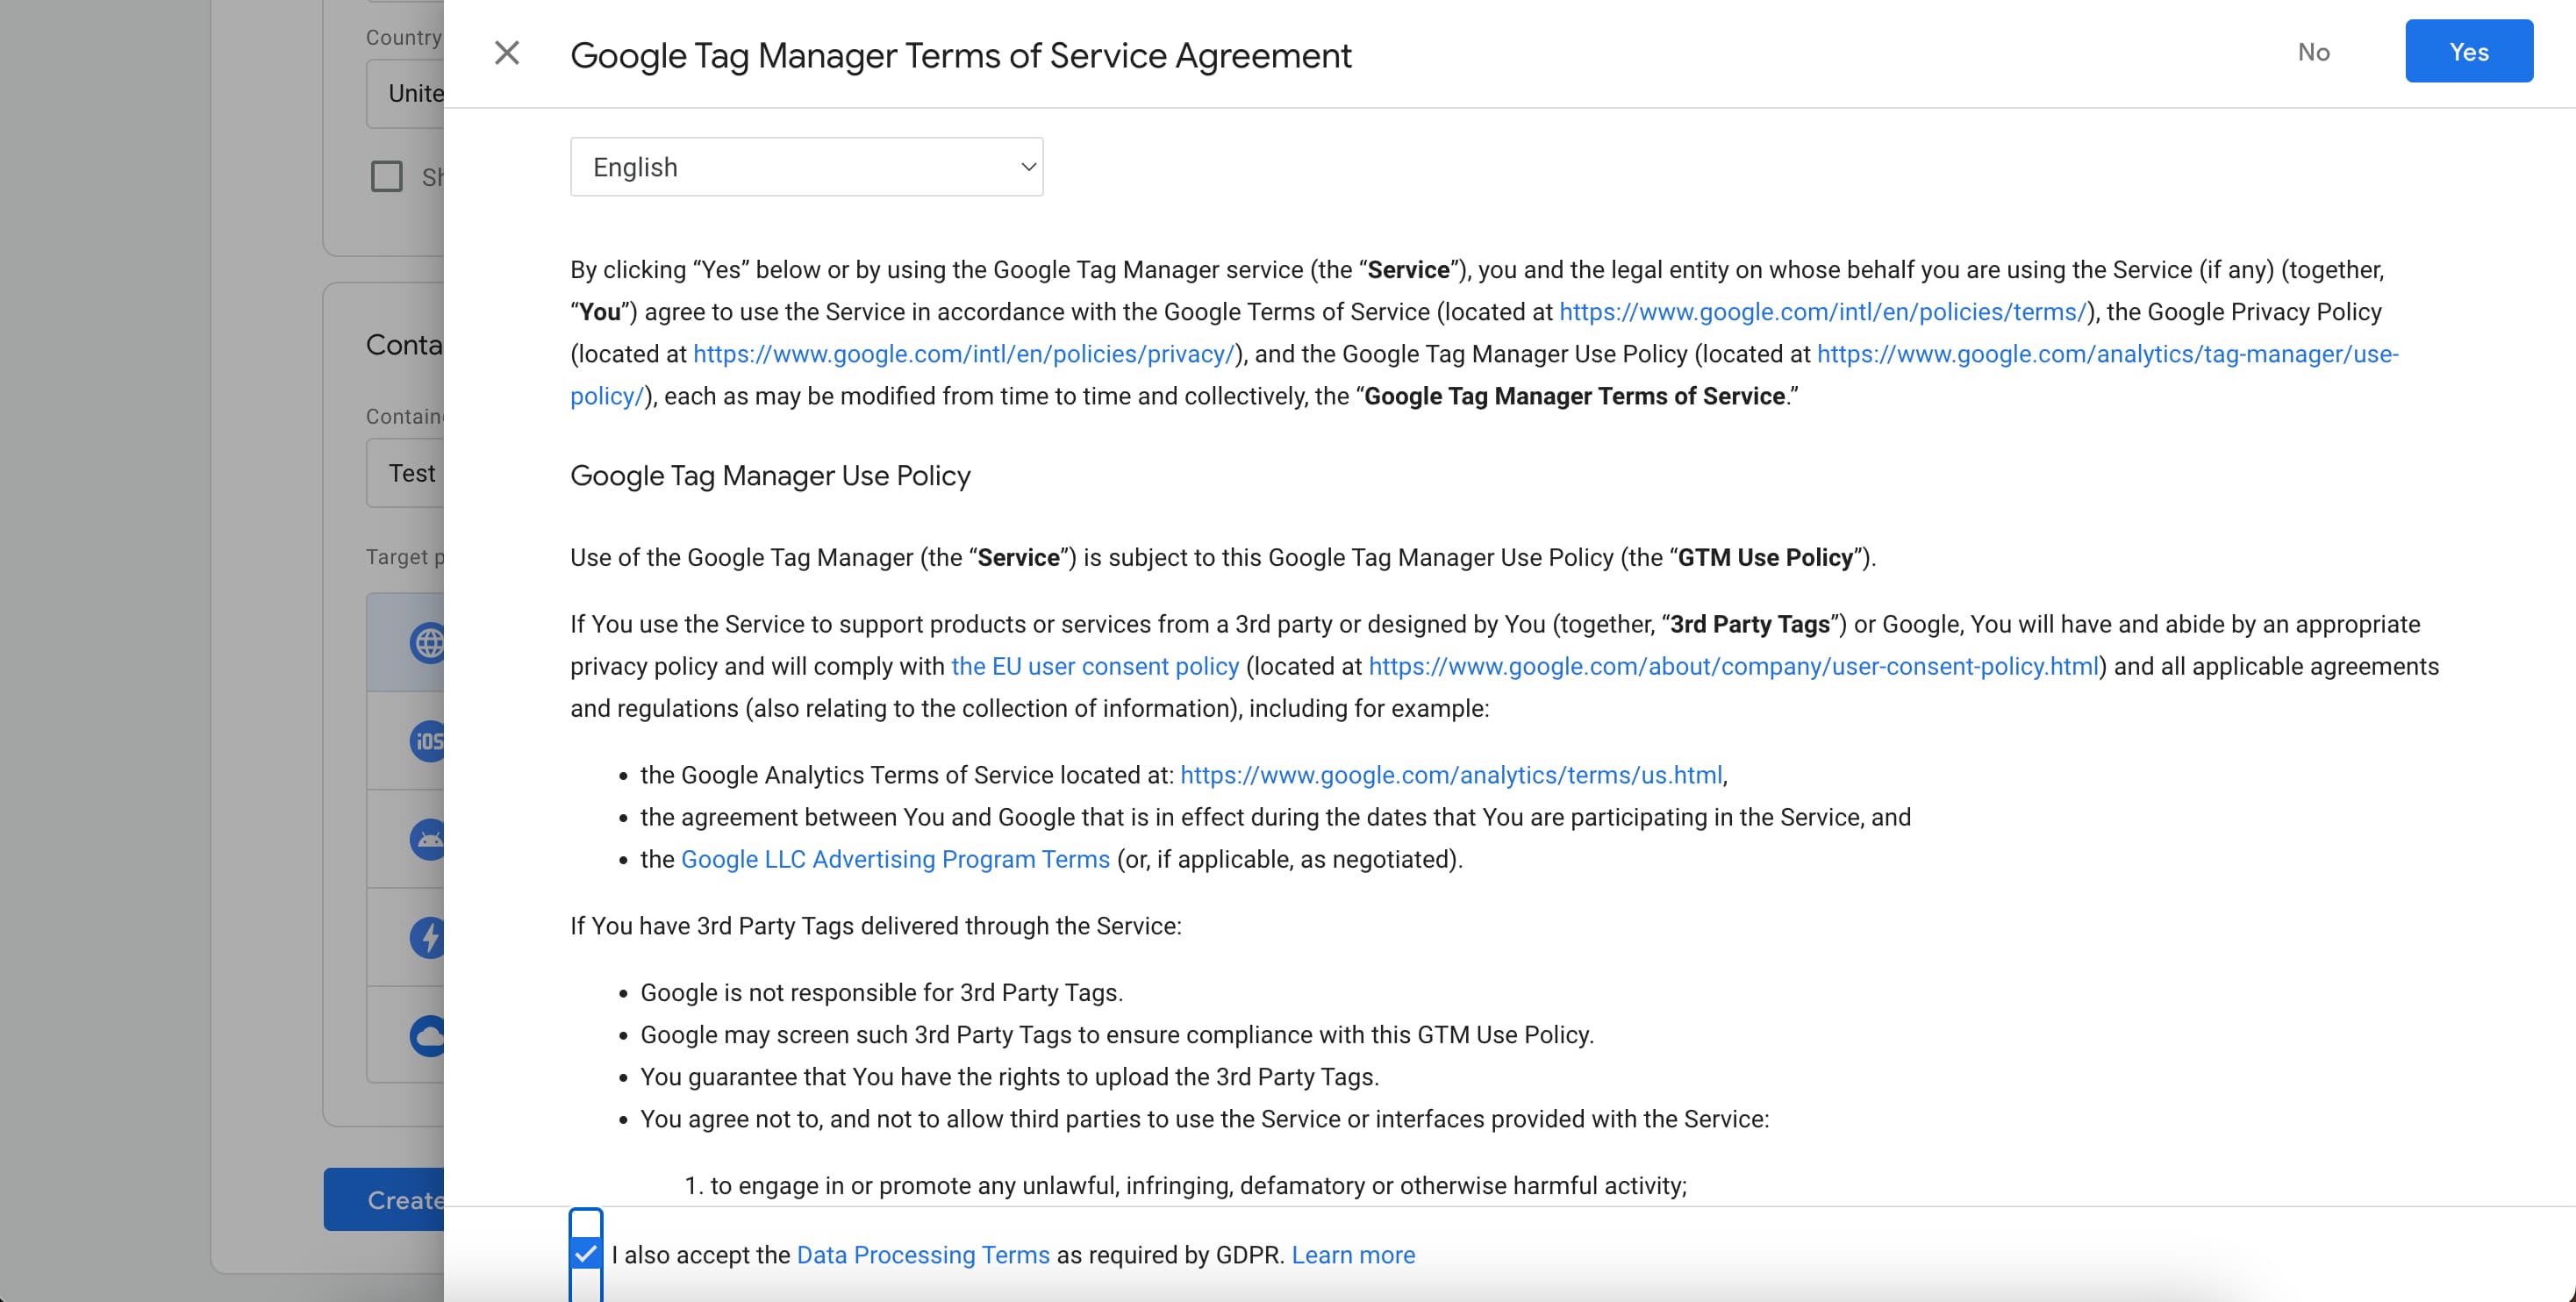
Get acquainted with the user agreement and click "Yes"
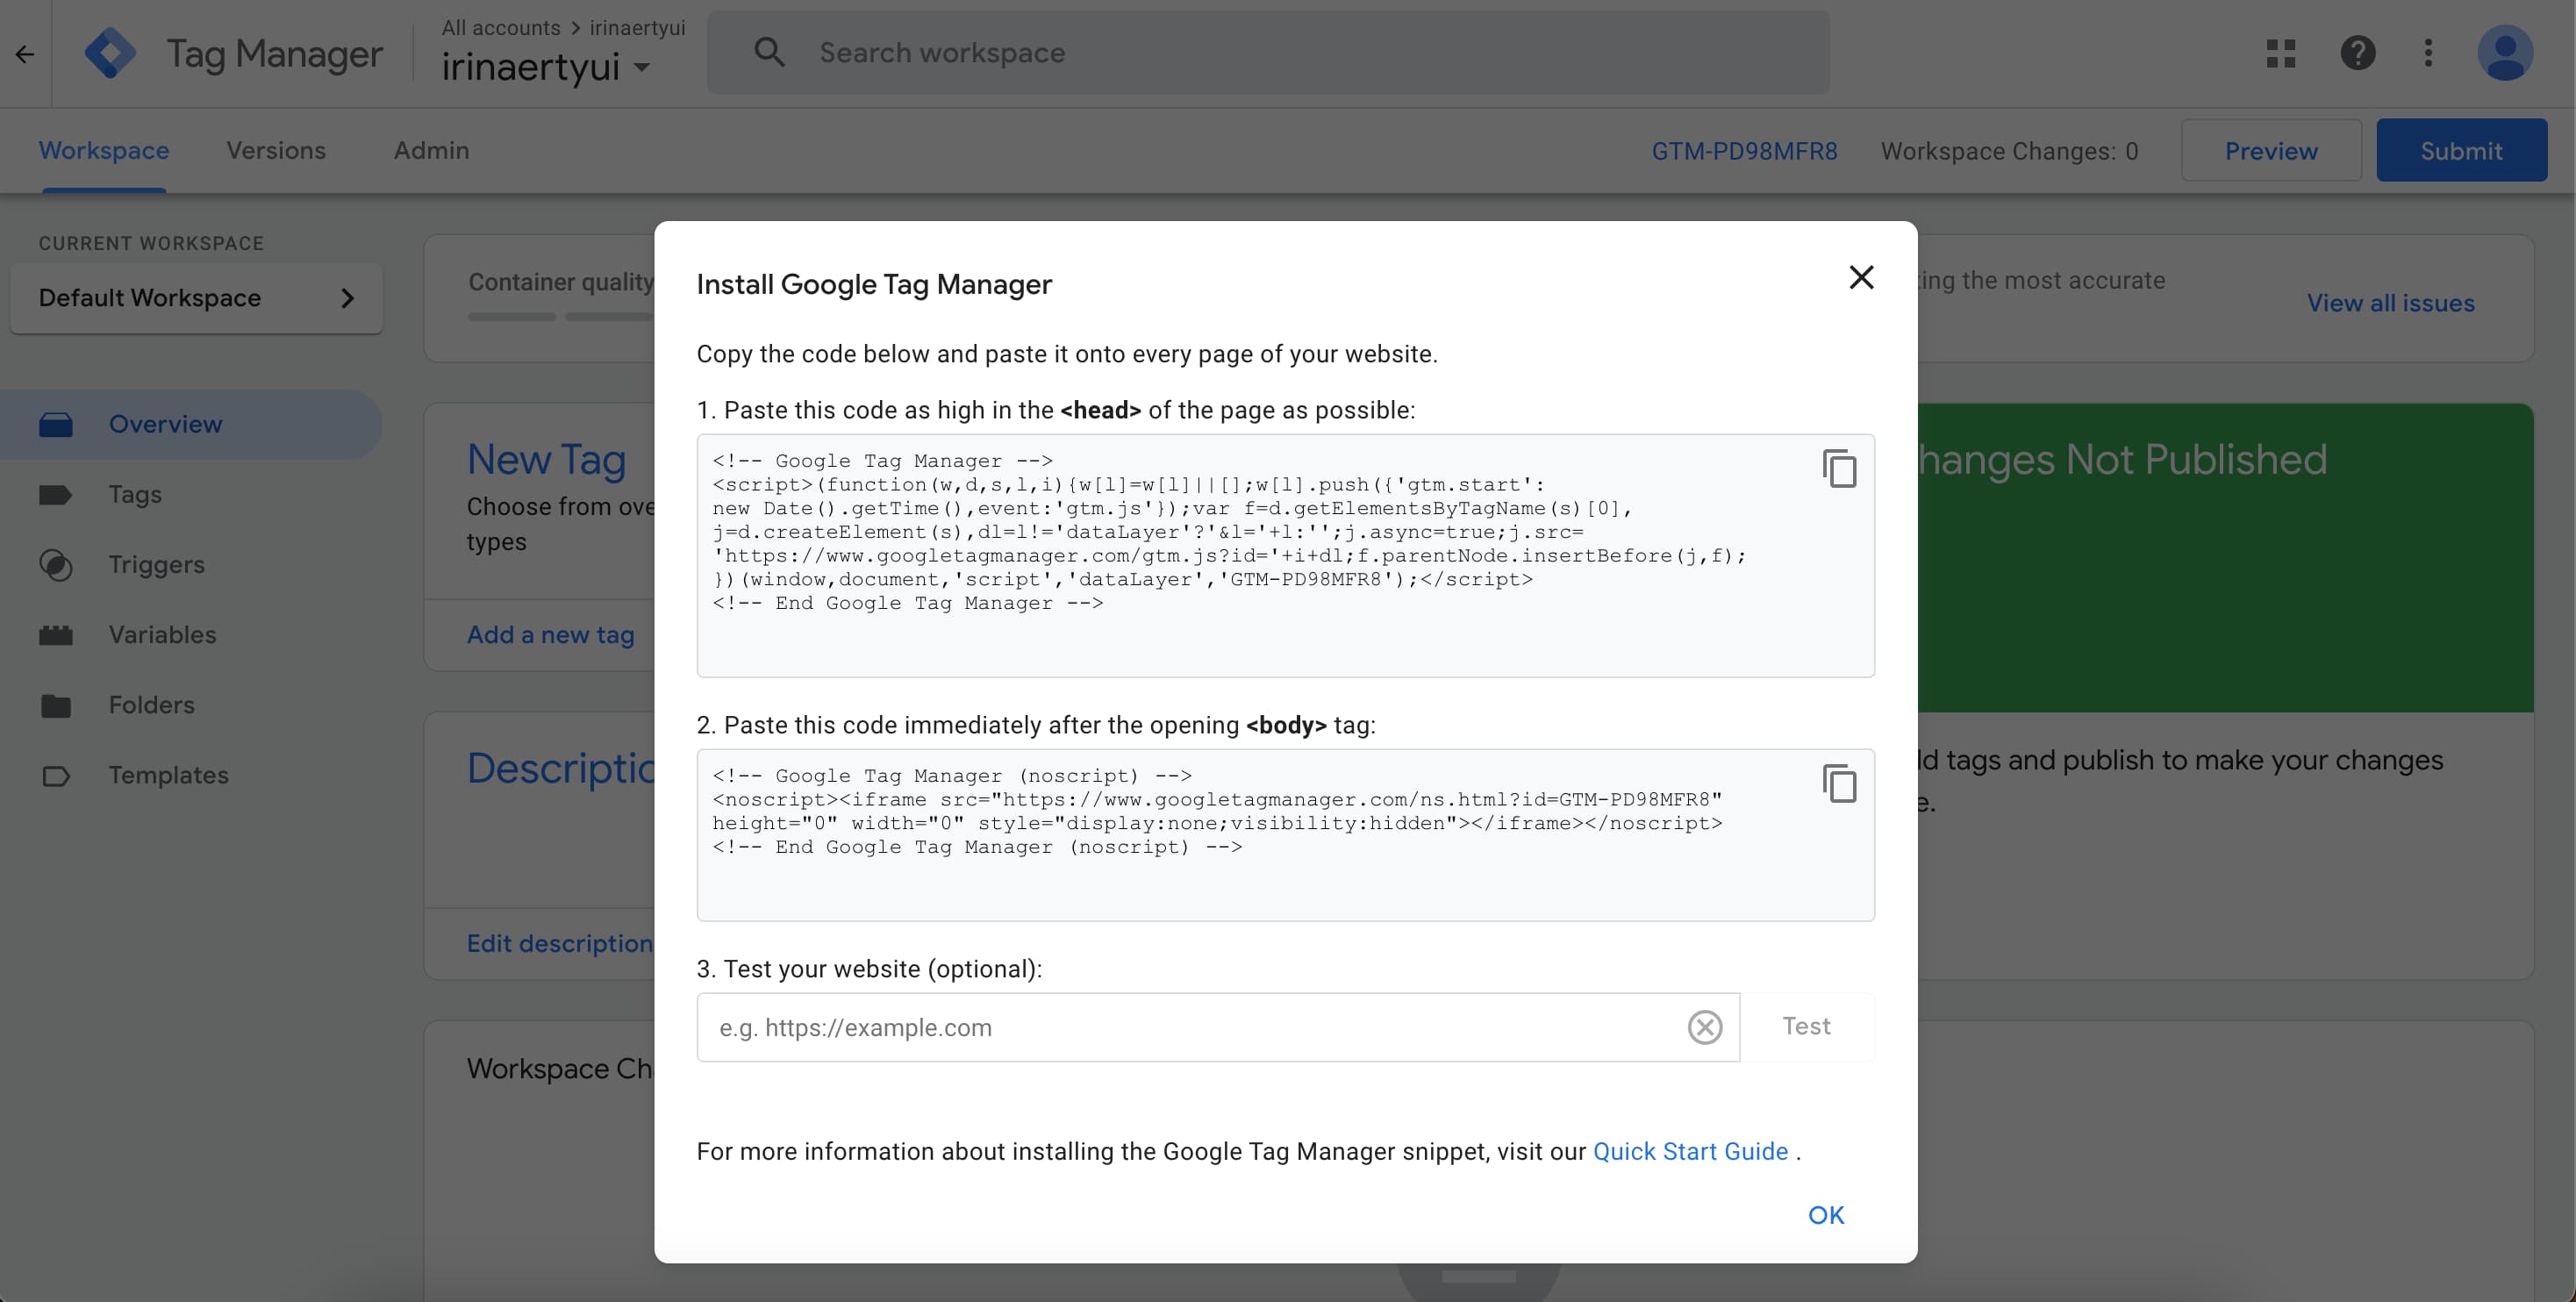
A popup will open, copy the first code
Important: Copy exactly the first code!
Go to the Hipolink.net website, log in and select the Modules section.
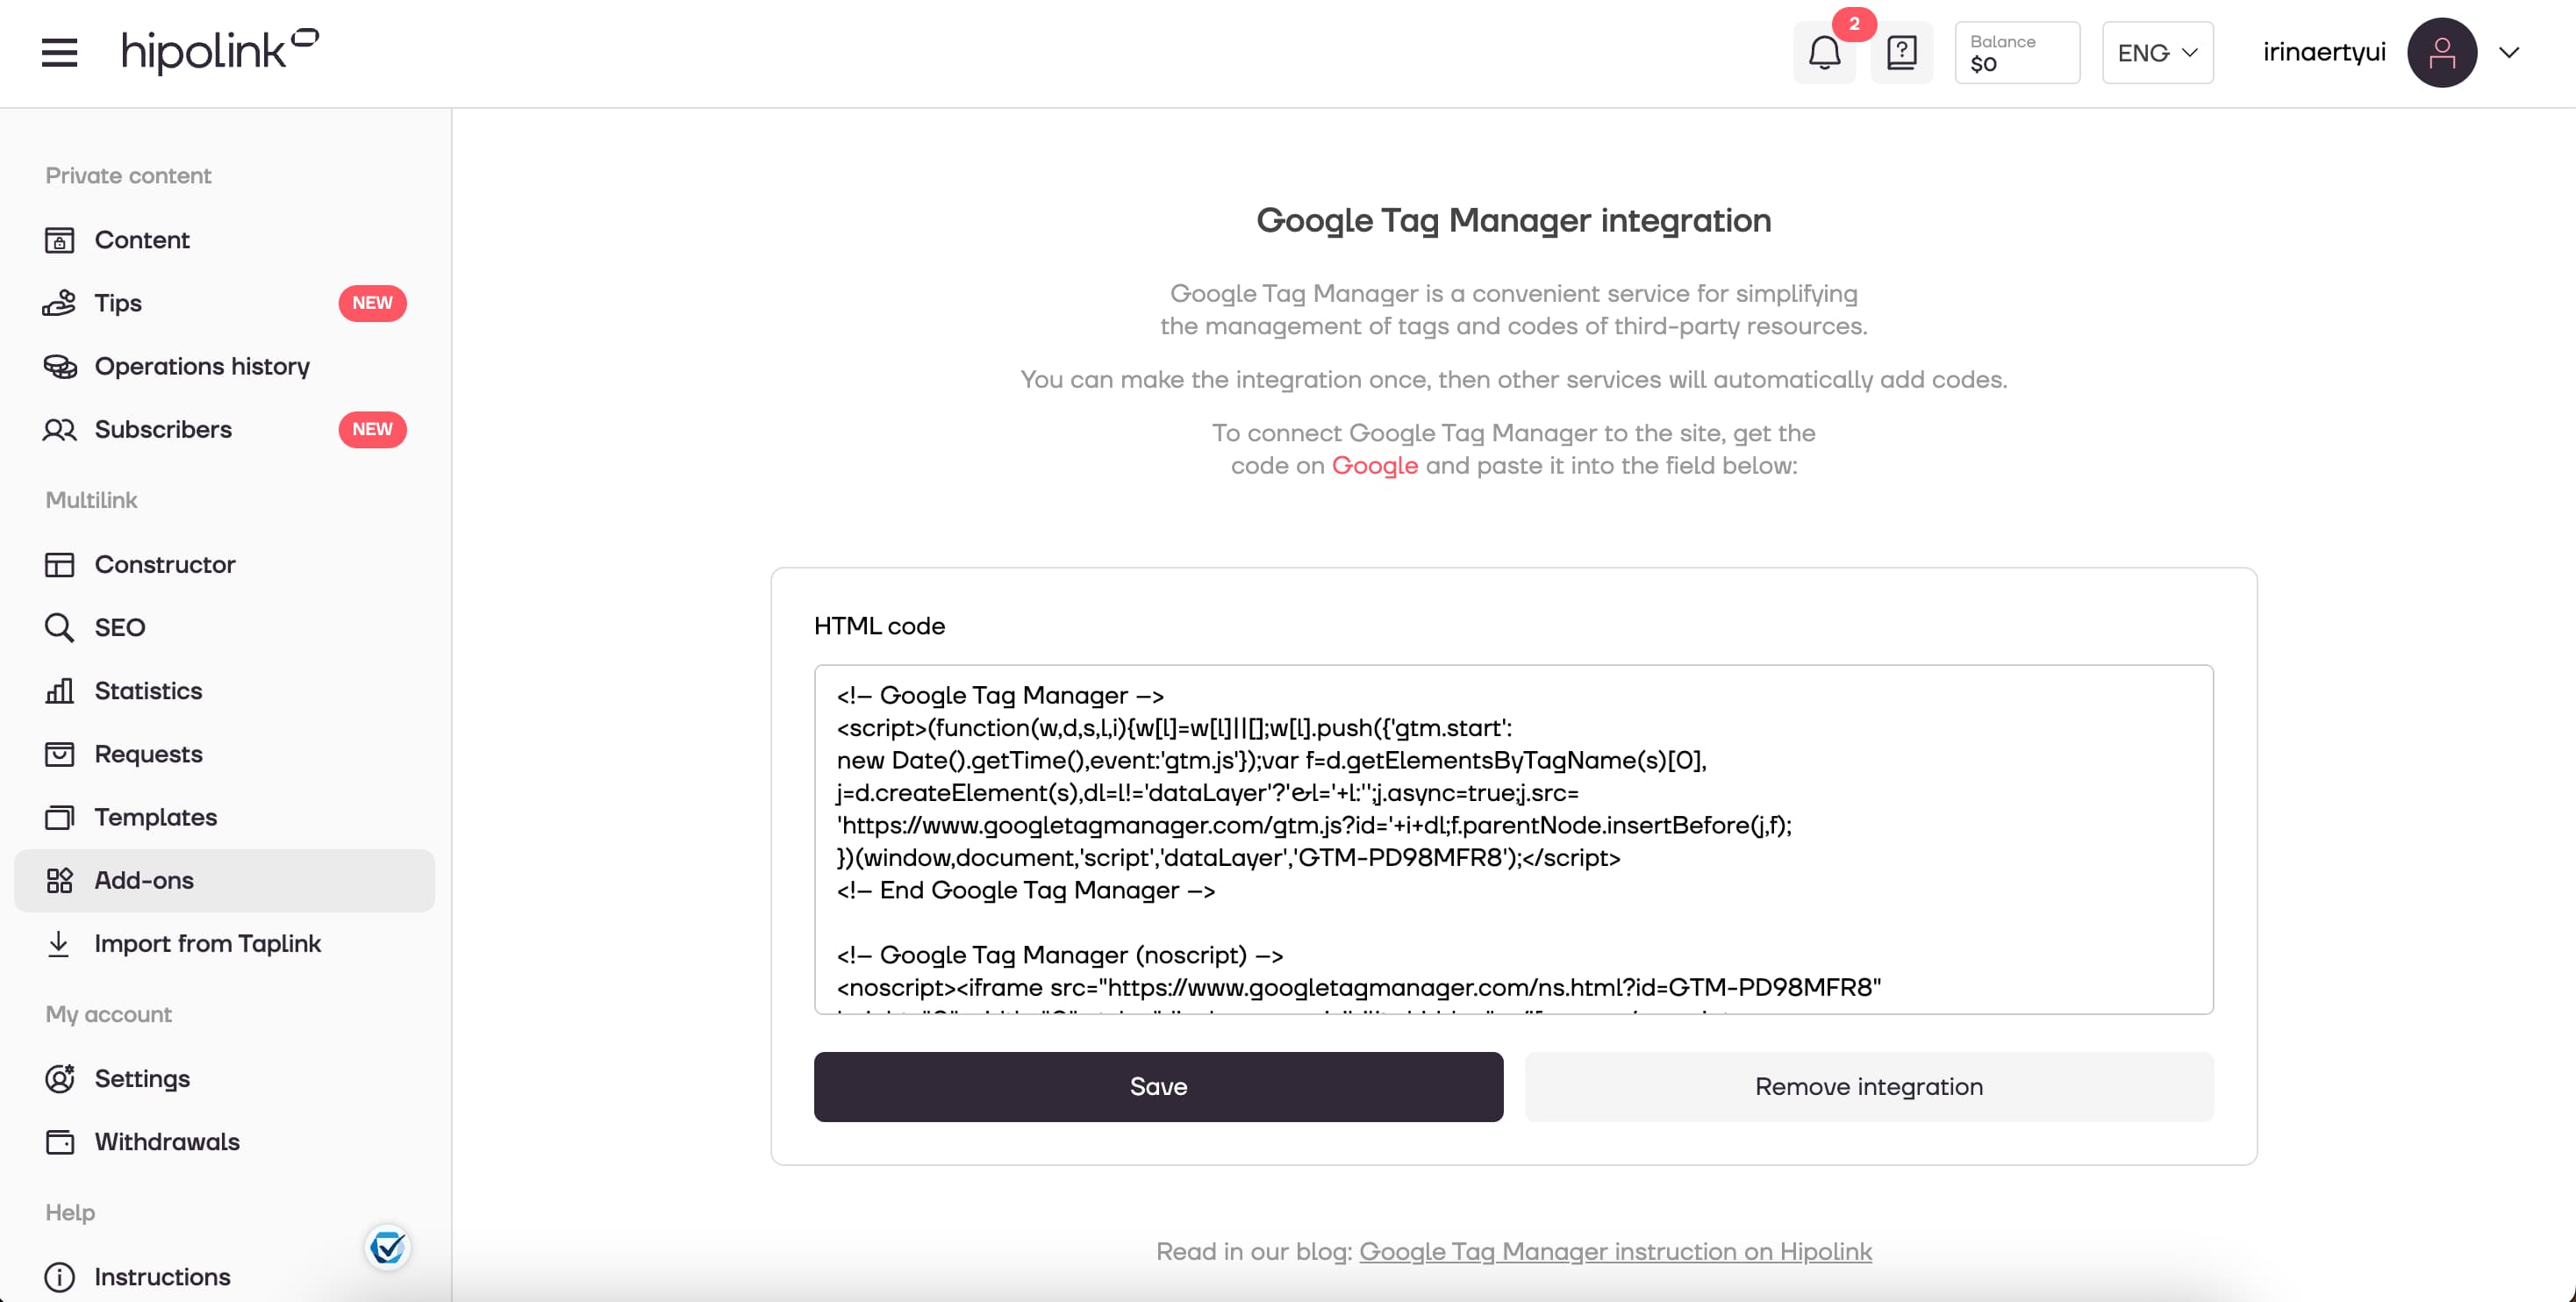
Inside the Modules section, click the "Install" button on the Google Tag Manager module, paste the copied code and click the "Save" button.
Go back to Google tag manager to test the pixel. In the step 3 paste the link of your Hipolink page and press "Test". If the pixel is successfully installed - you will see the green tick near the website link.

Done! Your Google Tag Manager module is installed!)
MAIN OPPORTUNITIES
Private contentLinks for anti-fraud checkTipsRegistrationSubscription to creator updatesWithdrawalsEdit textPromo CodesEdit themesEdit avatarEdit backgroundEdit linksDropdown BlockEdit online-servicesEdit animated textIcons on buttonsEdit separatorEdit messengersEdit social networksEdit videoEdit photoEdit applications formEdit widgetsHTML blockGoogle Tag Manager
Google Tag Manager is a service from Google that allows you to add a single GTM code to a page and manage content on the GTM side. This allows you not to change the code every time on all pages if you need to change the code. In GTM, you can add both your own code and the code of analytics services, such as Google Analytics.
Important: If you connect Google Tag Manager and activate the Google Analytics counter inside it, you cannot additionally connect the counter in the site settings - the data will be duplicated.
You need to go to the Google Tag Manager website and register or log in.
Then press the button "Create an account". Enter the name of the account , select Country, enter Container name and choose Web platform.
Get acquainted with the user agreement and click "Yes"
A popup will open, copy the first code
Important: Copy exactly the first code!
Go to the Hipolink.net website, log in and select the Modules section.
Inside the Modules section, click the "Install" button on the Google Tag Manager module, paste the copied code and click the "Save" button.
Go back to Google tag manager to test the pixel. In the step 3 paste the link of your Hipolink page and press "Test". If the pixel is successfully installed - you will see the green tick near the website link.
Done! Your Google Tag Manager module is installed!)